uGet is a free Download Manager for Linux, mac OS, Windows, BSD and android. It is light weight but powerful download manager. The main feature of this download manager is resume support. You don’t need to start the download from beginning of the download.
It supports queue feature. Using this function you can put your downloads in queue to start download one by one. You can also manage your downloads using unlimited categories.
It also supports clipboard monitor, Batch downloads,FTP Login & Anonymous FTP and Multi-Protocol download. you can download files with up to 16 simultaneous connections per download.
You can integrate uGet with firefox browser via FlashGot plugin.You can also use a command line or terminal to download files.uGet supports more than 20 languages.
Install uGet Download Manager on Ubuntu
Open your terminal. To open terminal click the Show applications from Ubuntu gnome dock.And type terminal in the search field. And click Terminal.
Type the below command in the terminal and hit enter.
sudo add-apt-repository ppa:plushuang-tw/uget-stable
Press enter to accept the process. Then type below command in terminal and press enter.
sudo apt update
Finally install uGet by typing this command in terminal.
sudo apt install uget
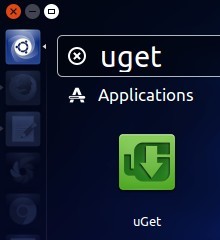
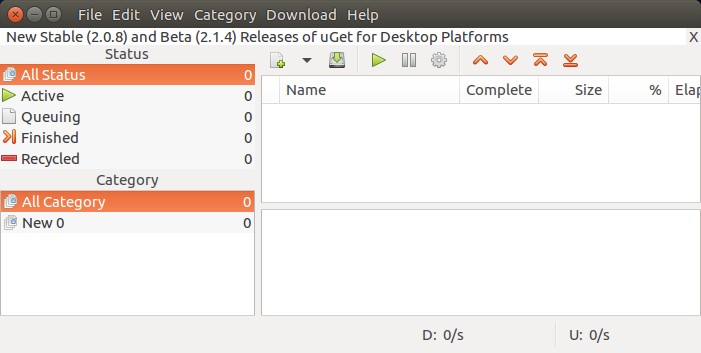
After the installation of uGet download manager, click the show applications in the Ubuntu Gnome dock and type uGet in the search box and click uGet to open it. For Unity you can search uGet from Ubuntu dash..