LAMP is a web development platform that uses Linux, Apache, MySQL and PHP (LAMP). In LAMP each letter stands for one of its four open-source blocks like Linux – OS, Apache HTTP Server – Web Server, MySQL – Database, PHP – Scripting Language. In this tutorial we will going to install Apache, MySQL , PHP and phpMyadmin on Ubuntu Linux system one by one.
Note: Tested with Ubuntu 24.04 Noble Numbat
Windows : How to install and configure Apache,PHP,MySql and phpMyadmin on windows
Linux mint: How to install and configure Apache, PHP, MySql and phpMyadmin on Linux Mint
Step 1:
Install Apache HTTP Server on Ubuntu Linux
Open the terminal command-line app (ctrl+alt+t) and run below Apache Server installation command. It will install the latest version of Apache Server on your Ubuntu Linux system. It needed type y and hit enter to confirm apache installation during installation
sudo apt install apache2
After the successful installation of Apache, open your favorite web browser and type the below address and hit the enter key.
http://localhost/
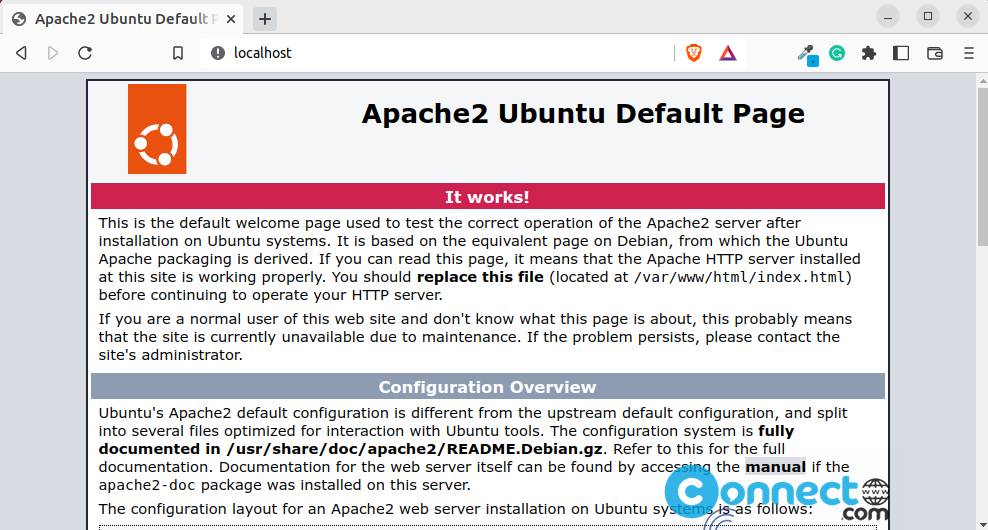
If you will see ‘It works!’ in the Apache2 Ubuntu Default Page, then your Apache server works fine.
Step 2:
Install PHP on Ubuntu Linux
Open the terminal app using the ctrl+alt+t keys or via the show application menu and run below command. It will install the latest version of PHP on your system.
sudo apt install libapache2-mod-php -y
After the successful installation restart Apache server using the below command.
sudo /etc/init.d/apache2 restart
[OR] use the below code to restart
sudo systemctl restart apache2
Test PHP installation:
To test PHP is installed, Type below command and hit the enter key.
sudo gedit /var/www/html/phpinfo.php
and type your Ubuntu password if needed. It will open the phpinfo.php file in gedit test editor. Type below code in the phpinfo.php file, save and exit it..
<?php phpinfo() ?>
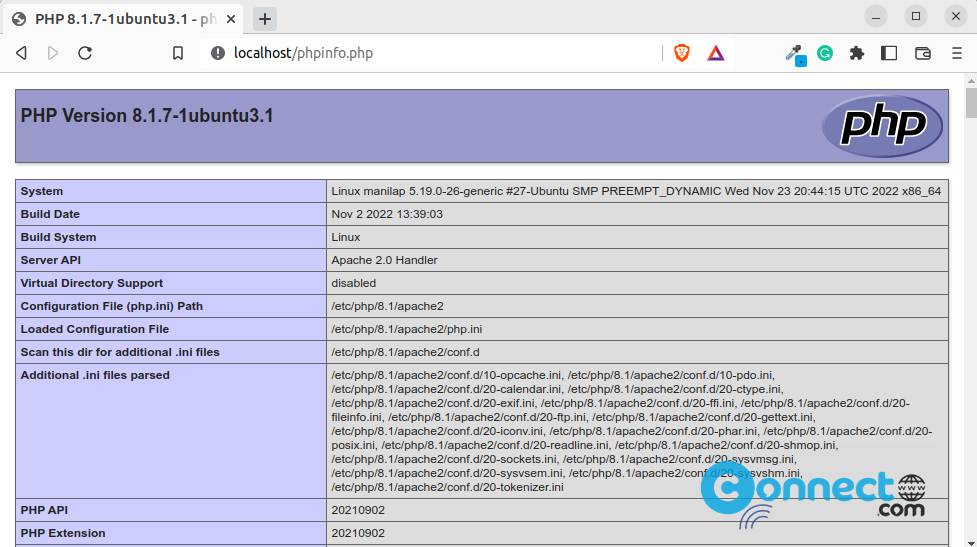
Now open your favorite we browser and go to the below address.
http://localhost/phpinfo.php
in the address bar and press enter. If you will see the below page , then your PHP works fine.
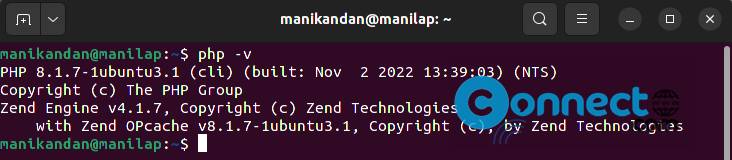
You can also check the installed PHP version using this command.
php -v
Note: Now go to the Step 3 directly if you don’t need any other version of PHP. If you need any specific version of PHP then follow below step also.
Install php 5.6 and PHP 8 in the same system:
You can also install other versions of PHP on your system. For that you need to add ondrej php PPA in your system.
In the terminal add below PPA and install any Php Version. Run below commands one by one.
sudo apt install software-properties-common ca-certificates lsb-release apt-transport-https
sudo LC_ALL=C.UTF-8 add-apt-repository ppa:ondrej/php
sudo apt update
Install PHP 5.6 on Ubuntu Linux
sudo apt install php5.6
If you want to install some other php extensions use the below code to install them.
sudo apt-get install php5.6-mysql php-gettext php5.6-mbstring php-xdebug libapache2-mod-php5.6 php5.6-cgi php5.6-cli php5.6-curl php5.6-gd php5.6-intl php-imagick php5.6-imap php5.6-mcrypt php-memcache php5.6-pspell php5.6-recode php5.6-sqlite3 php5.6-tidy php5.6-xmlrpc php5.6-xsl php-xcache php5.6-fpm
Note: Replace version 5.6 with the required PHP version to install on Ubuntu. Even you can install multiple PHP versions on a single Ubuntu system.
You can switch the PHP version easily with the below code.
Example: To switch from php7.0 to php5.6:
Type the below command in terminal and press enter key
sudo a2dismod php7.0 ; sudo a2enmod php5.6 ; sudo service apache2 restart
then
sudo ln -sfn /usr/bin/php5.6 /etc/alternatives/php
To switch from php5.6 to php7.0:
Type the below command in terminal
sudo a2dismod php5.6 ; sudo a2enmod php7.0 ; sudo service apache2 restart
sudo ln -sfn /usr/bin/php7.0 /etc/alternatives/php
Step 3:
Install MySql on Ubuntu Linux
Run the below command in the terminal application to install the latest version of MySql server on Ubuntu system.
sudo apt install mysql-server
Type your Ubuntu user password and also y and hit enter to confirm MySql installation if needed.
![]()
During the installation you will be prompted for a password.Choose something secure and type the password and hit enter .

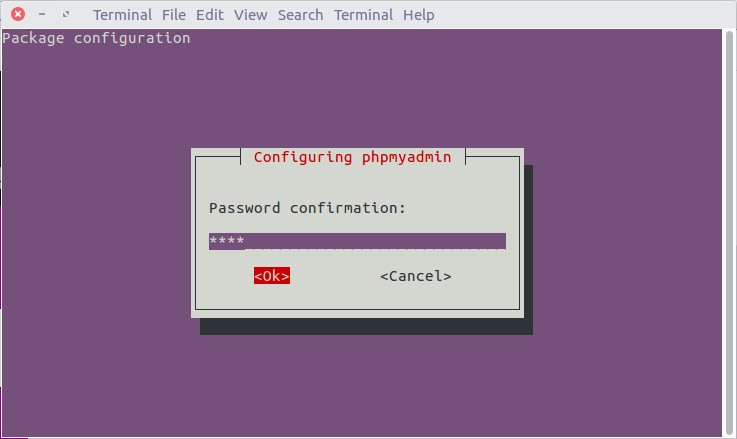
Repeat the password and press enter.

Then install mysql client using the below command.
sudo apt install mysql-client
After that run below commands one by one to install the latest php mysql and php curl modules. My php version is 8.1. just replace 8.1 with your version in below command.
sudo apt-get install php8.1-mysql
sudo apt-get install php8.1-curl
You can check the installed php version with below command.
php -v
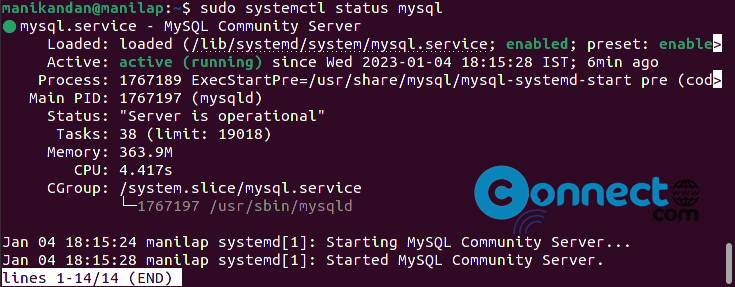
To check the MySQL server status, use the below command
sudo systemctl status mysql
Step 4:
Install phpMyadmin on Ubuntu Linux:
phpMyAdmin is a free software tool written in PHP intended to handle the administration of MySQL over the World Wide Web.
Open Terminall. And type the below code in terminal and hit enter.
sudo apt install phpmyadmin
Type your Ubuntu password if needed. Type y and hit enter to confirm the phpMyadmin installation.
Then Enter password of the database’s administrative user.
and select OK and press enter.
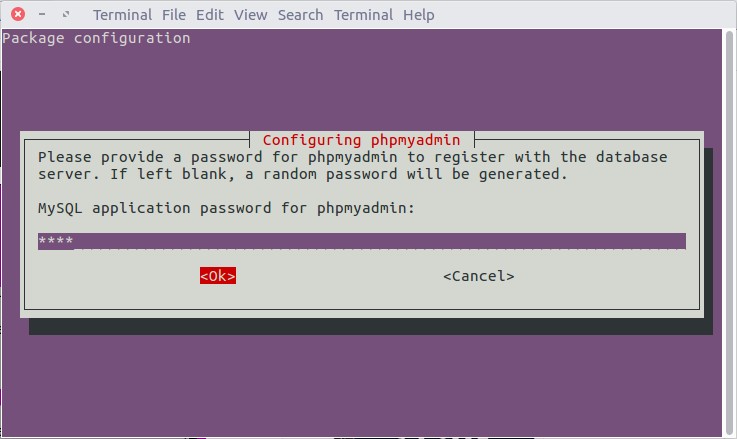
Then enter your MySQL application password for phpmyadmin:
and select OK and press enter.
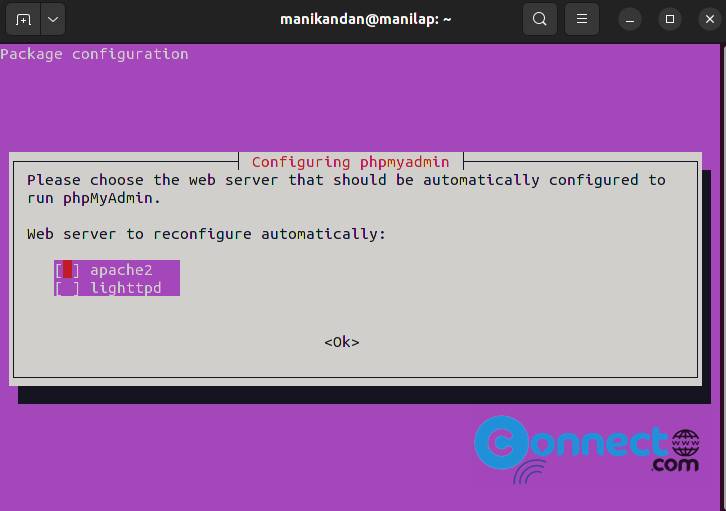
During the installation you will be prompted for a Web server configuration. Select apache2
(already selected) press enter.
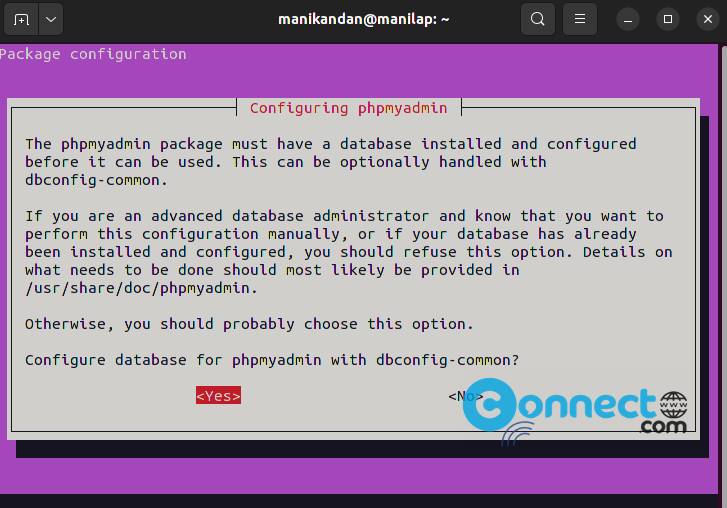
During the installation you will be prompted for a configure database for phpmyadmin wjth dbconfig-common.
Select ‘Yes’ to configure database for phpmyadmin wjth dbconfig-common.
After the successful installation and configuration, restart Apache using the below command.
sudo systemctl restart apache2
Then open your browser and type
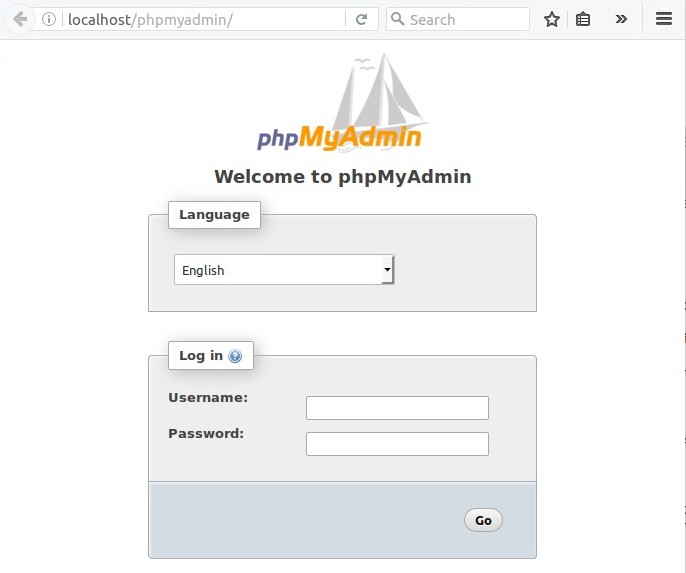
http://localhost/phpmyadmin/
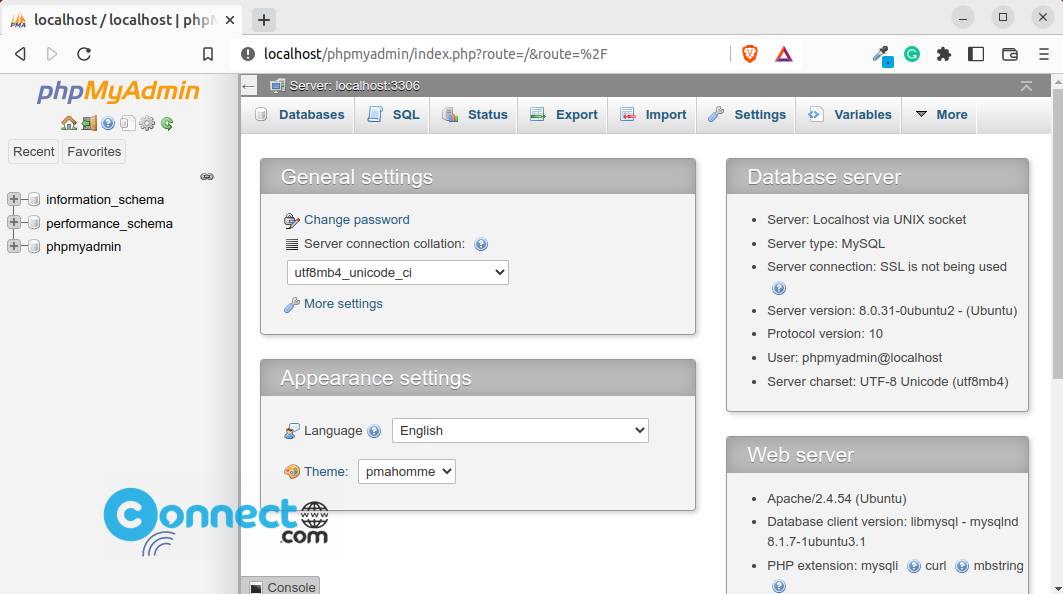
in the address bar and press enter. It will open the phpmyadmin admin login page.
Type your username and password to login.
Note: In case phpMyAdmin is not working or you get an empty phpmyadmin page, then please do the following steps.
Open terminal, and type the below command :
sudo gedit /etc/apache2/apache2.conf
it will open the apache2.conf file in gedit with root permission.
Add the below line at the end of the file and save and the exit it.
Include /etc/phpmyadmin/apache.conf
Restart apache service using the below command.
sudo systemctl restart apache2
Then restart mysql using the below command.
sudo /etc/init.d/mysql restart
Then open your browser and type
http://localhost/phpmyadmin/
in the address bar and press enter. It will open the Phpmyadmin admin login page.
Type your username and password to login.
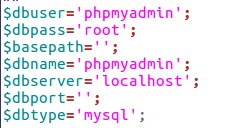
If you forget your username and password, just type the below command in terminal
sudo gedit /etc/phpmyadmin/config-db.php
Note down the username and password.
You’re now ready to start building your local website. just put all of your files into
/var/www/html/
That’s it.

FIrst, thank you for spending the time to create this awesome guide.
Second, I’ve come to a stand still, when logging into phpmyadmin I’ve entered the correct user and pass but I’m still unable to log in. here are my errors I’m receiving.
#1045 – Access denied for user ‘beartoe’@’localhost’ (using password: YES)
mysqli_real_connect(): (HY000/1045): Access denied for user ‘beartoe’@’localhost’ (using password: YES)
Connection for controluser as defined in your configuration failed.
mysqli_real_connect(): (HY000/1045): Access denied for user ‘beartoe’@’localhost’ (using password: YES)
Any suggestions into what could be going on?
Your tip was writing in 2016 but until today it works simple and perfect.
Gracias Muchas
Thank you very much. After several days, I finally got phpmyadmin working. Your explanation is very detailed and helpful.
Thanks for this post. But to install in ubuntu server this tutorial helps me
Very nice post. Thanks 🙂
hi… this tutorial helped a lot ! But when we entered password i have just pressed ENTER now i can not access(log in) to phpMyAdmin. What i should do ? Please help me! i typed root, SPACE but i doesn’t works !
try with your mysql password
ubuntu 13.04
well done…
tanx
Wow.. it works!!! Wonderfull!!
it was really helpful for me thank you very much.
Thanks this was very helpful
Thanks, i have been trying to do this for days!! u really saved me from a lot of headaches
Thanks once again
works fine.really helpfull.thanks alot….
Thanks man … i was stuck
thanks alot yaar..it was very useful post…:)
I use 11.4 …I am too lazy to upgrade
really wasome i like it..plz say what is the main use of phmyadmin? Did every1 use it?
thanks!
Works great! Highly recommended!
Thank you
you are really simple and great
hey all worked for meee!!! thankssss is my first expirience!!!!! sucess!!!!
You are simply the best !
It works very well! Thank you
Very good tutorial!
Thanks
Thank you for tutorial
Thanks for the great tutorial. Thumbs up!..
I followed the steps blindly but I’m at the last step. What’s my mysql user name and password?
root
Thanx a lot buddies. Very helpgul.
We did this inside window with the help of Virtualbox on an ubuntu desktop 11.
you can just include this in apache.conf
include /etc/phpmyadmin/apache.conf
Thanks Alot !!#23
tnx alot – newbie here and this was the thing i’m looking for.. tnx much
This tutorial was complete in all respects, the installation finished like a sweetheart ! Thanks 🙂
Pingback: Ubuntu 11 | sjsmoto's space
Best tutorial on the subject and I have seen a lot of them!
Thank a lot and great job!
Thanks mate.. Its works. You made it easy for me to work on LAMP now. 🙂
Hi Thanks for very helpfull post.
A question what theme are you using on your ubuntu?
Thanks.
Bisigi themes
very usefull, tnx
Thanks for this man!
Hey thanx a lot .. It was really Helpful
Once more please,
I’m still have problems how to configure mysql connected and can be updated fom my php scripts? cause likely mysql still no connected yet. my friend who using other distro recommended to edit httpd.conf in etc/httpd/ but the folder no found in my ubuntu 11.04.
please help
Thank
/etc/apache2/
http://wiki.apache.org/httpd/DistrosDefaultLayout
https://help.ubuntu.com/10.04/serverguide/C/httpd.html
Phpmyadmin installed ok, making directories my_site in var/www ok, but why no text/images displayed when I try to open http://localhost/my_site ?
Please help.
Best Regard.
I just find the answer of my problems using this command
sudo chmod 777 -R /var/www/my_site as like your recommendations in other article at https://connectwww.com/how-to-install-wordpress-on-ubuntu-step-by-step/739/
Thank a lot.
fine
i cant save file www folder
it says there is no permission
change folder permission to 777
Pingback: How to install phpbb on ubuntu | CONNECTwww.com
Pingback: How to install MediaWiki on ubuntu | CONNECTwww.com
Pingback: How to install Joomla 1.6 on ubuntu | CONNECTwww.com
Pingback: How to install Drupal 7 on ubuntu | CONNECTwww.com
Pingback: How to install wordpress on ubuntu (step by step) | CONNECTwww.com