Ensuring the presence of the Java Runtime Library on your Ubuntu system is crucial for certain applications. This article outlines methods to verify the installed Java version on your Ubuntu setup.
Method 1: Check the Installed Java Version
Open the Ubuntu command line (Terminal) is the key for running the commands mentioned below. Access the Terminal either through the Ubuntu Dash or the Ctrl+Alt+T shortcut. Once in the Terminal, use either of the following Java commands to ascertain its version:
java -version
Or
java --version
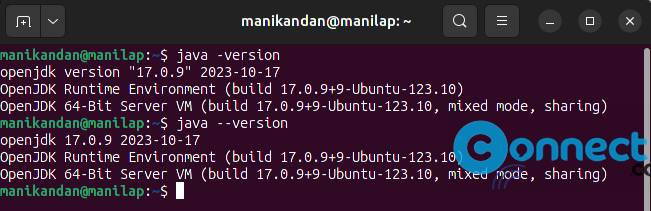
Executing these commands will confirm the existence of Java Runtime Environment on your system. If Java is present, it will also display the specific version.
In case Java is not currently installed, you will receive a “java not found” error message.
Method 2: Check the Java Installation Path
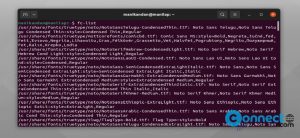
To inspect the directory where Java is installed, use the following command:
which java

If Java is absent, this command will yield no output. However, if Java is installed, it will reveal the precise path where Java is located.
Method 3: Search for Java in Installed Packages
Another approach involves checking for Java JDK software packages in the system. Execute the following command to list available JDK packages in the Ubuntu system.
sudo aptitude search jdk
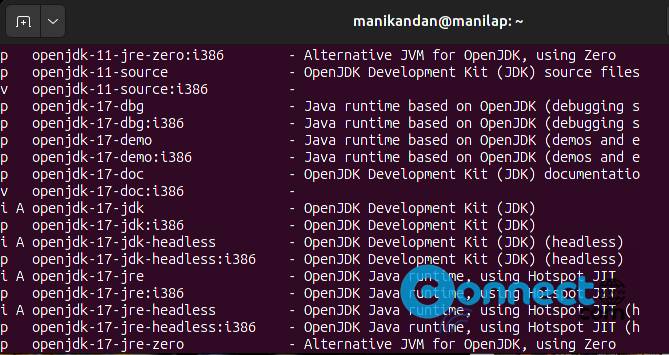
The output will display all JDK packages, with only the ones prefixed with ‘i’ indicating installed packages. If Java is not installed, you won’t find the ‘i’ prefix associated with any JDK entries.
By following these methods, you can efficiently verify the status of Java on your Ubuntu system and ensure its availability for applications that require it.