WildFly is a free and open source application server written in Java. It is formerly known as JBoss. It is a lightweight and fast application server. It supports REST based data access, including JAX-RS 2, and JSON-P.
1. Install Java on Ubuntu
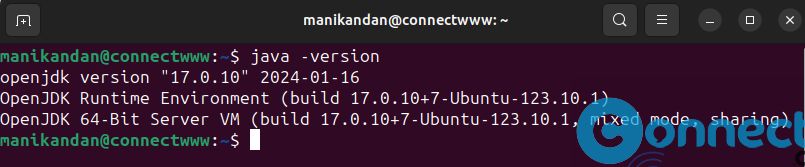
To install and run latest WildFly on your system, you need latest Java JDK release. First confirm whether Java is already installed in your system by running below command in your terminal command-line application (ctrl+alt+t)
java -version
If you don’t have java then install it via below commands.
sudo apt install default-jdk -y
2. Create Wildfly User on Ubuntu
Now create a new wildfly user with the base home directory “/opt/wildfly”.
sudo useradd -r -d /opt/wildfly -s /usr/sbin/nologin wildfly
3. Install Wildfly
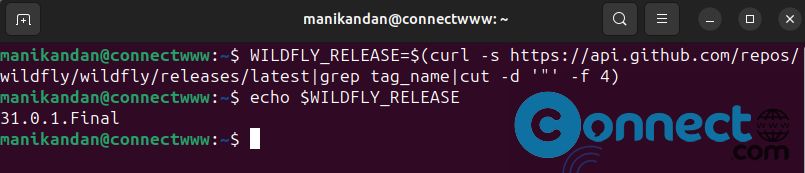
Now create a new temporary environment variable “WILDFLY_RELEASE”. This will assign the environment variable “WILDFLY_RELEASE” with the latest release of the WildFly version. In the terminal run below command.
WILDFLY_RELEASE=$(curl -s https://api.github.com/repos/wildfly/wildfly/releases/latest|grep tag_name|cut -d '"' -f 4)

Now get the latest stable Wildfly version using below command.
echo $WILDFLY_RELEASE
Now download WildFly Binary Package using below command. You should see the new file in your current directory.
wget https://github.com/wildfly/wildfly/releases/download/${WILDFLY_RELEASE}/wildfly-${WILDFLY_RELEASE}.tar.gz
Now extract and move the new extracted WildFly directory to “/opt/wildfly” using below commands.
tar -xvf wildfly-${WILDFLY_RELEASE}.tar.gz
sudo mv wildfly-${WILDFLY_RELEASE} /opt/wildfly
Now you need to set the correct ownership of the WldFly installation directory to the user “wildfly” using the below command.
sudo chown -R wildfly:wildfly /opt/wildfly
After that, create a new default configuration directory “/etc/wildfly” using the following command. Then, copy the example of the WildFly configuration file into it.
sudo mkdir -p /etc/wildfly/
sudo cp /opt/wildfly/docs/contrib/scripts/systemd/wildfly.conf /etc/wildfly/
4. Edit WildFly Config file
To edit Wildfly config file, first open it using below command.
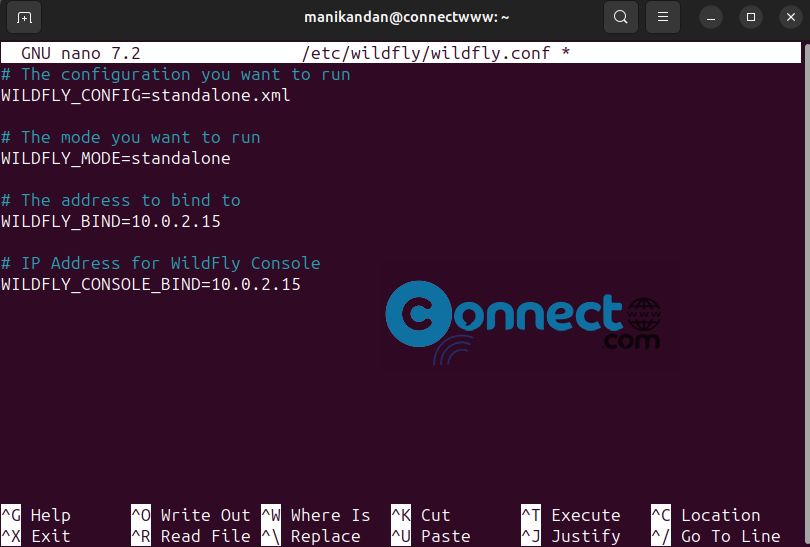
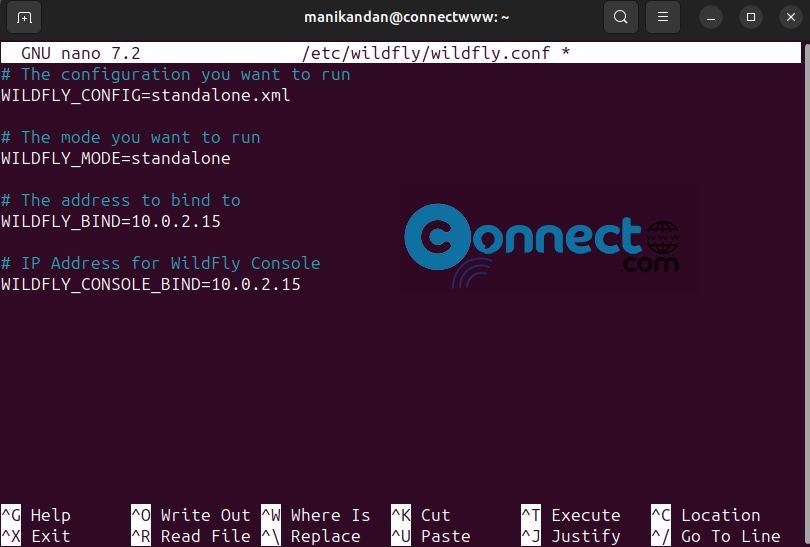
sudo nano /etc/wildfly/wildfly.conf
You can change the “WILDFLY_BIND” address to your local server IP address.
# The configuration you want to run
WILDFLY_CONFIG=standalone.xml
# The mode you want to run
WILDFLY_MODE=standalone

# The address to bind to
WILDFLY_BIND=10.0.2.15
Now press Ctrl + X on your keyboard. Now enter Y and hit the enter key.Again hit the Enter key. This will Save and close the file.
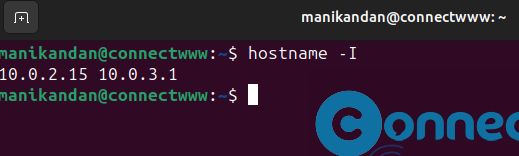
Here my server ip is 10.0.2.15. You can get it using below command.
hostname -I
Next, copy the example of WildFly start script “/opt/wildfly/docs/contrib/scripts/systemd/launch.sh” to the directory “/opt/wildfly/bin/”. Then, copy the WildFly systemd service file “/opt/wildfly/docs/contrib/scripts/systemd/wildfly.service” to the directory “/usr/lib/systemd/system/”.
sudo cp /opt/wildfly/docs/contrib/scripts/systemd/launch.sh /opt/wildfly/bin/
sudo cp /opt/wildfly/docs/contrib/scripts/systemd/wildfly.service /usr/lib/systemd/system/
Now create a new directory “/var/run/wildfly” that will be used for storing the PID (Process ID) file of the WildFly server. Also, be sure to change the correct ownership of that directory to the user “wildfly”.
sudo mkdir /var/run/wildfly/
sudo chown -R wildfly:wildfly /var/run/wildfly/
Now reload the systemd manager and also start and enable wildfly service.
sudo systemctl daemon-reload
sudo systemctl start wildfly
sudo systemctl enable wildfly
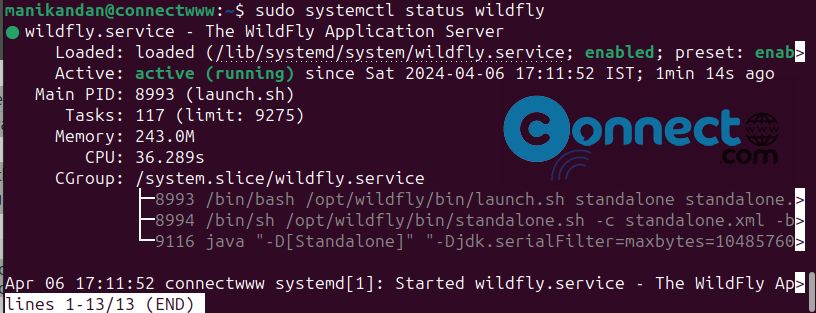
To check and verify the “wildfly” service status, run the below command.
sudo systemctl status wildfly
Now run the below command to open the TCP port “8080” for WildFly.
sudo ufw allow 8080/tcp
5. Accessing Wildfly Web UI:
Open your web browser and visit your server IP address with the port 8080 like below command.
http://10.0.2.15:8080
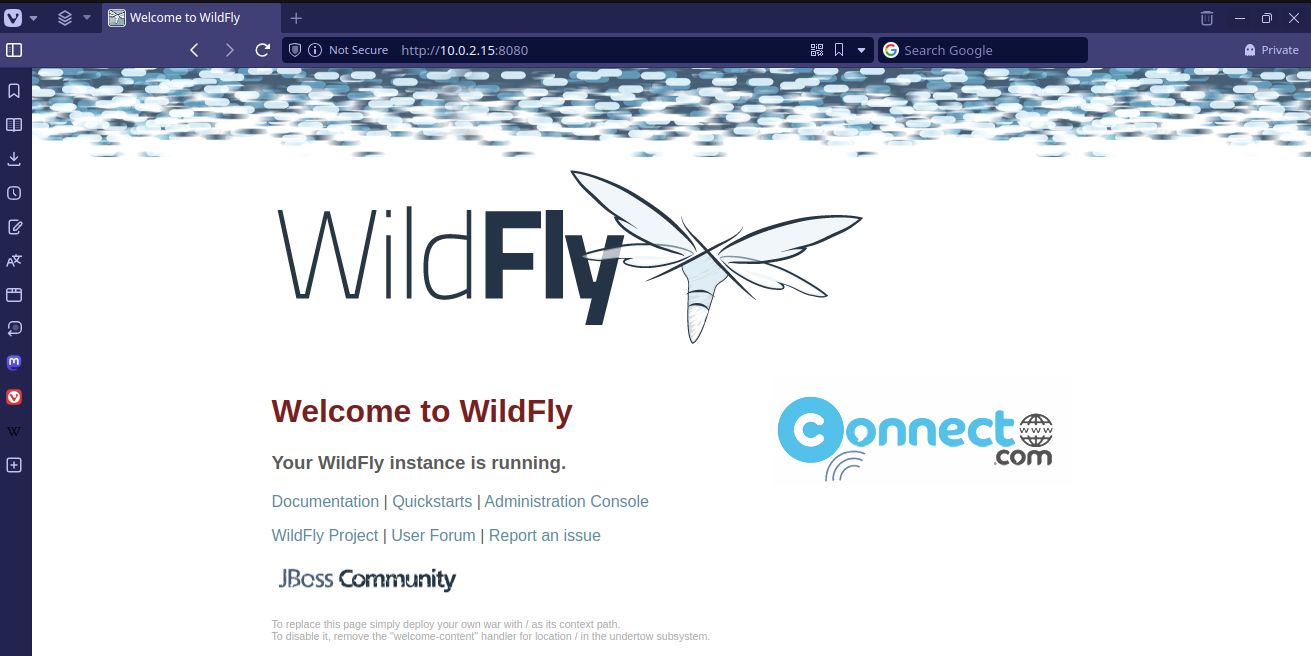
Now you will see WildFly’s default index.html page.
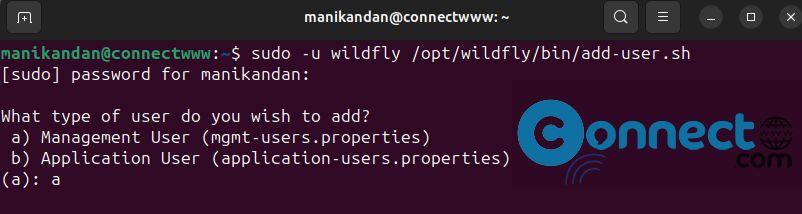
6. Set Wildfly Administration User:
First run the WildFly add user script “/opt/wildfly/bin/add-user.sh” as “wildfly” user like below command.
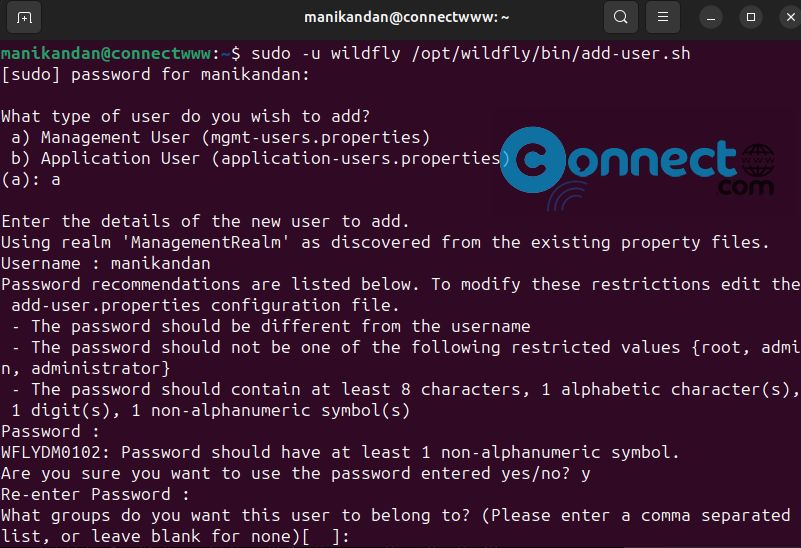
sudo -u wildfly /opt/wildfly/bin/add-user.sh
Type “a” and hit the enter key to set up the WildFly “Management User”.
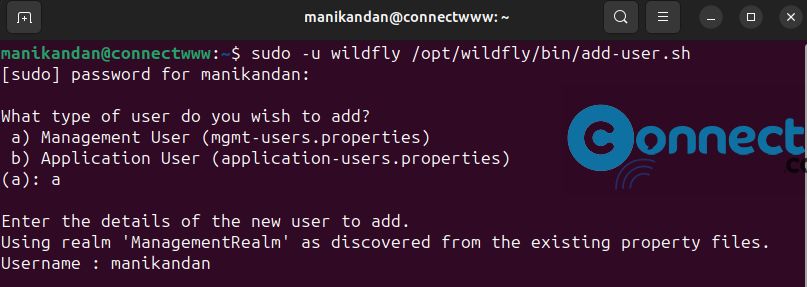
Then type the username for the WildFly administrator and press the enter key. You can choose any name. Here we are using “manikandan”
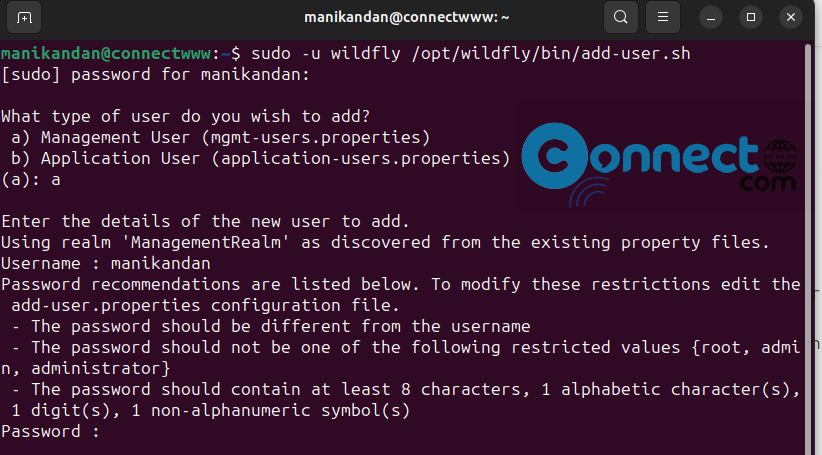
Now type secure password for the new admin user manikandan and repeat.
Leave the group configuration as default and press ENTER.
Type “yes” to confirm the new WildFly admin configurations and press the enter key
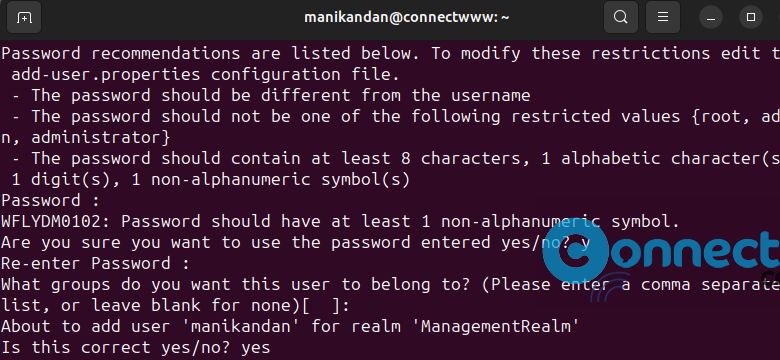
Again, type “yes” again to enable the new user to be used to identify one WildFly process or you can just input “no” for this settings.
7. Enabe WildFly Administration Console:
Now run below command to edit the config file “/etc/wildfly/wildfly.conf”.
sudo nano /etc/wildfly/wildfly.conf
Add the following configuration to the file.
# IP Address for WildFly Console
WILDFLY_CONSOLE_BIND=10.0.2.15
Now press Ctrl + X on your keyboard. Now enter Y and hit the enter key.Again hit the Enter key. This will Save and close the file.
Note: Here my system ip is 10.0.2.15.
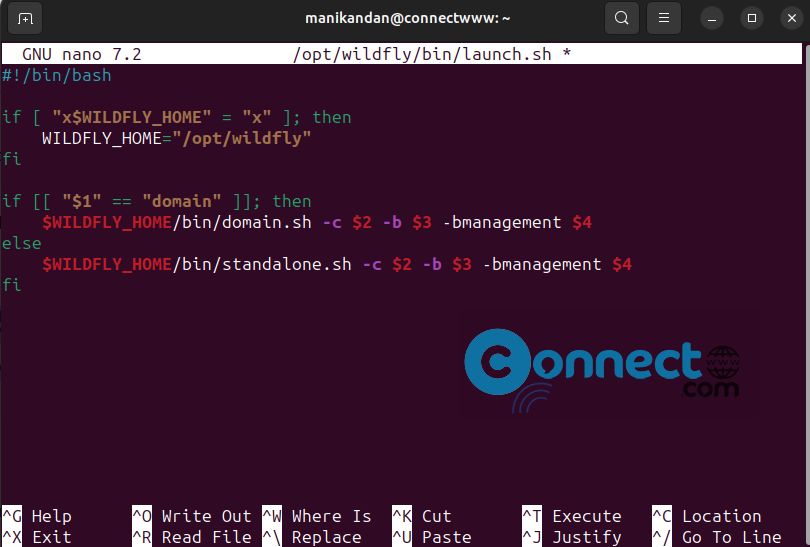
Then edit the WildFly start script “/opt/wildfly/bin/launch.sh” using the following command.
sudo nano /opt/wildfly/bin/launch.sh
And add option “-bmanagement $4” to enable the WildFly administration console.
if [[ "$1" == "domain" ]]; then
$WILDFLY_HOME/bin/domain.sh -c $2 -b $3 -bmanagement $4
else
$WILDFLY_HOME/bin/standalone.sh -c $2 -b $3 -bmanagement $4
fi
Press Ctrl + X on your keyboard. Now enter Y and hit the enter key.Again hit the Enter key. This will Save and close the file.
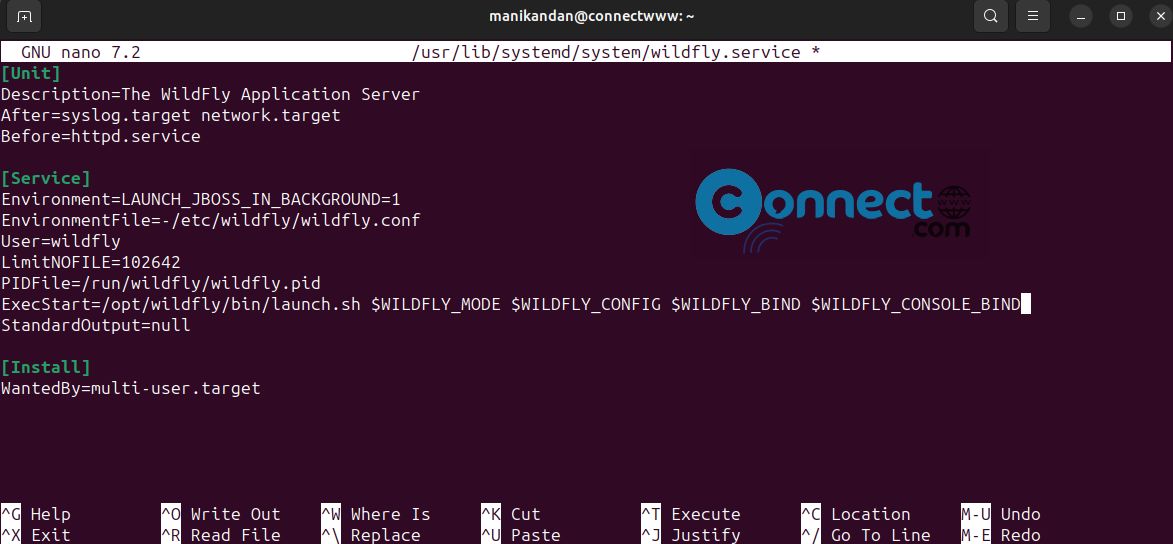
Now edit the WildFly systemd service file “/usr/lib/systemd/system/wildfly.service” using the following command.
sudo nano /usr/lib/systemd/system/wildfly.service
Now add the environment variable “$WILDFLY_CONSOLE_BIND” as an additional command option on the “ExecStart” as the following.
ExecStart=/opt/wildfly/bin/launch.sh $WILDFLY_MODE $WILDFLY_CONFIG $WILDFLY_BIND $WILDFLY_CONSOLE_BIND
Then press Ctrl + X on your keyboard. Now enter Y and hit the enter key.Again hit the Enter key. This will Save and close the file.
Now run below commands one by one.
sudo systemctl daemon-reload
sudo systemctl restart wildfly
sudo systemctl status wildfly
By default WildFly administration is running on the TCP port “9990”. You will need to add the UFW firewall rule.
sudo ufw allow 9990/tcp
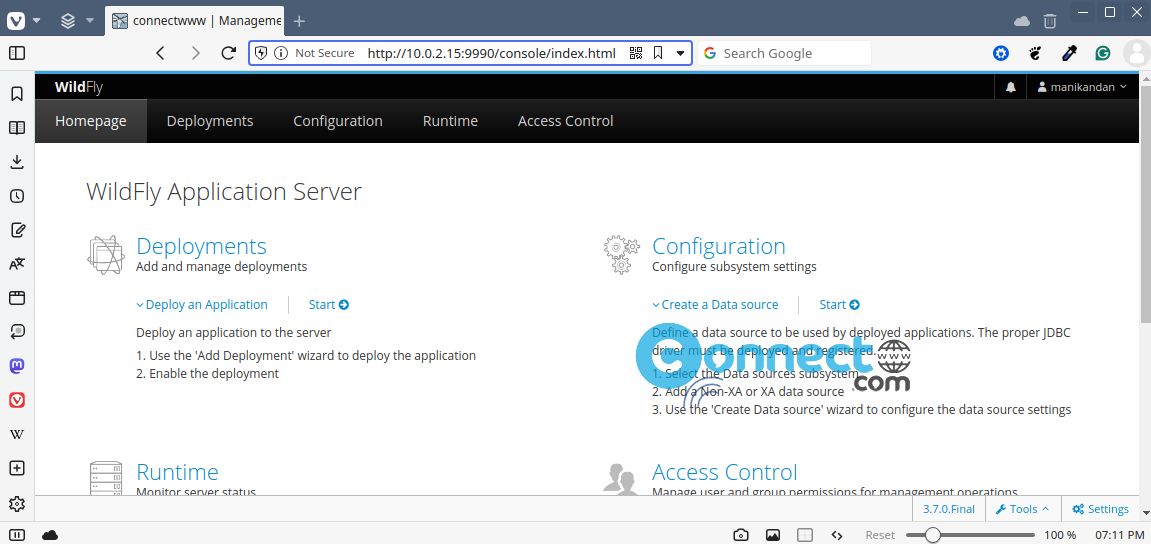
8. Access WildFly administration:
Open your web browser and visit the server IP address followed by the port “9990”. you will be prompted for the WildFly admin user and password. Type your created WildFly admin username and password.
http://10.0.2.15:9990