PyCharm is a best Python IDE from Jetbrains. Jetbrain PyCharm IDE comes in two variants, professional and community edition. The community edition is free and professional edition has some more features. The free and open source community edition is a lightweight IDE for Python & Scientific development. The community edition comes with Intelligent Editor, Graphical Debugger, Refactorings, Code Inspections and Version Control Integrations.It supports the core python language, PyQt, PyGTK, XML, HTML and RelaxNG.
Download PyCharm IDE Community edition
Install PyCharm IDE Community edition On Ubuntu
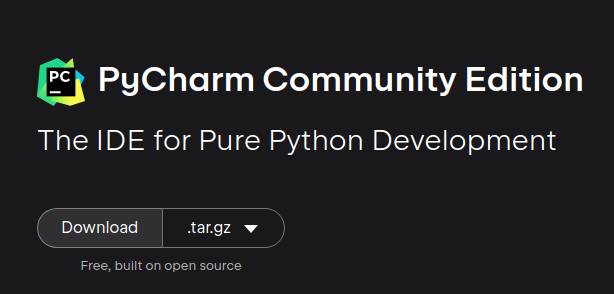
Go to the above PyCharm IDE download page and download the PyCharm IDE Community edition Linux .tar.gz package.
Note: For me its “pycharm-community-2023.2.tar.gz”. It will change based on current PyCharm IDE Community edition version.
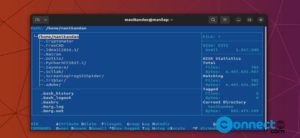
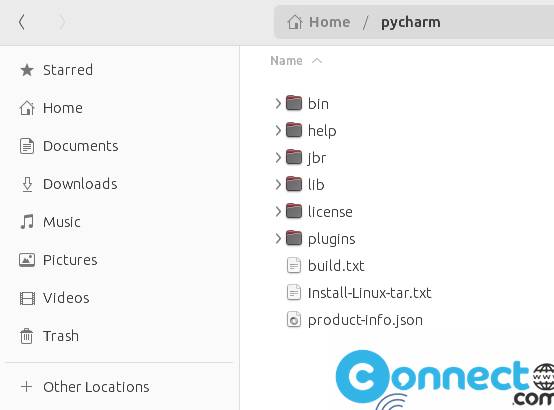
Unzip the downloaded pycharm tar.gz file (that is pycharm-community-2023.2.tar.gz) to where you wish to install the program (copy the file to home folder and right click and extract/extract here). Here its Home Folder. Rename the extracted folder to something like “pycharm” like below .
Open Terminal and type below code in terminal and press enter.
cd pycharm/bin
Then type below command and press enter
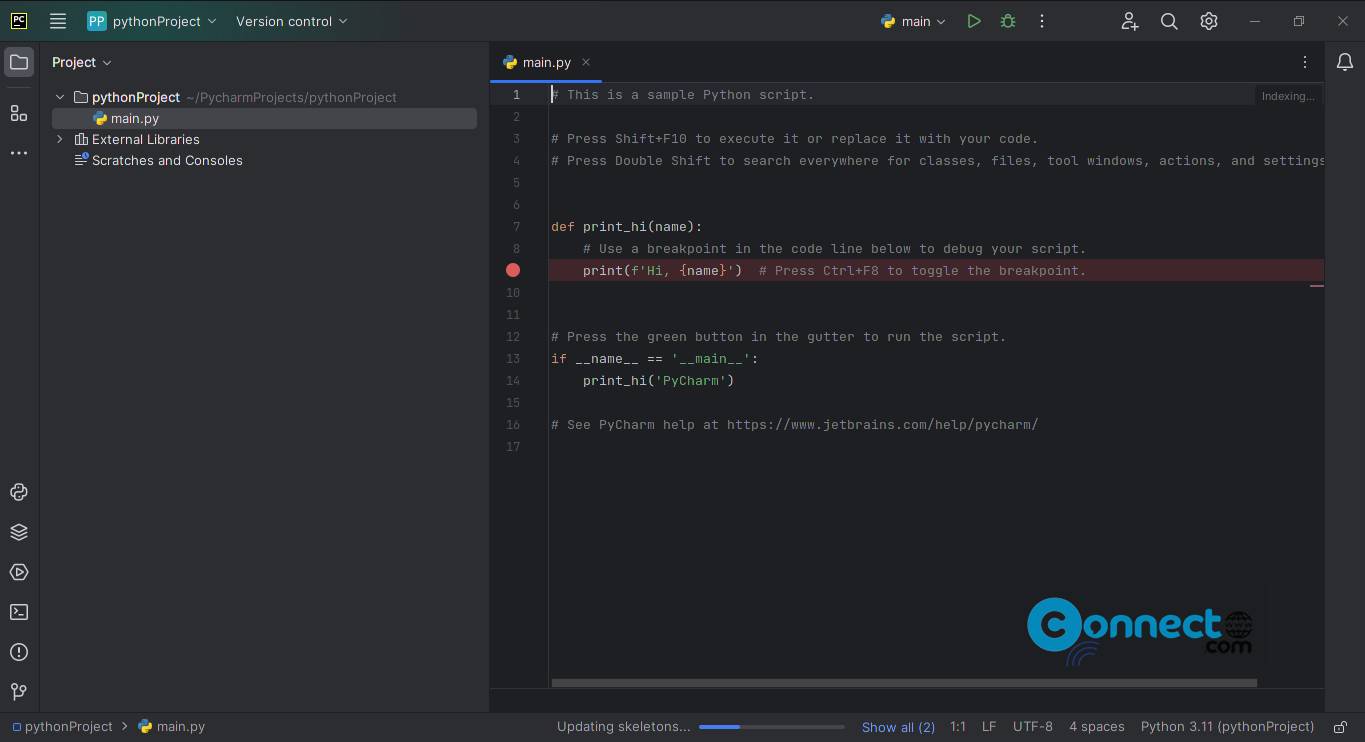
./pycharm.sh

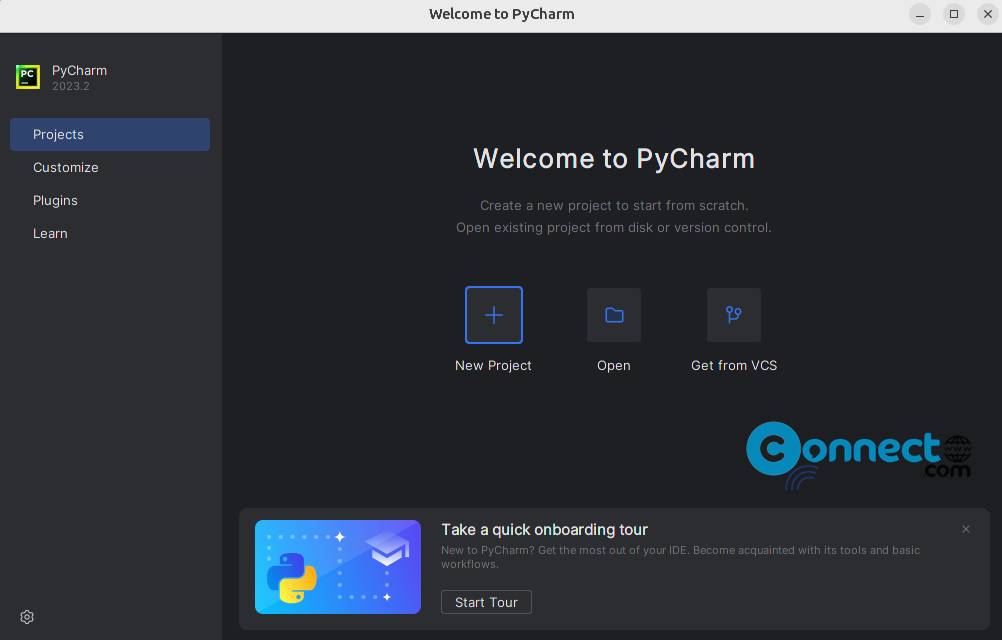
Select the second option if you don’t have a previous version of PyCharm IDE and click OK button and complete the installation.
Install PyCharm IDE Community edition via Snap:
It is also available as a snap package. Just run below command in terminal to install it.
sudo snap install pycharm-community --classic
After the installation you can open it via the Show Apps menu from the Ubuntu dock.
Install PyCharm IDE Community via Flatpak:
You can install PyCharm IDE Community flatpak package file using below command.
flatpak install flathub com.jetbrains.PyCharm-Community
And start it using below command.
flatpak run com.jetbrains.PyCharm-Community