LAMP named as an acronym of the Linux operating system, the Apache HTTP Server, the MySQL relational database management system and the PHP programming language.
L – Linux
A – Apache
M – MYSQL
P – PHP
On Windows Click Here: How to install and configure Apache,PHP,MySql and phpMyadmin on windows
On ubuntu Click Here: How to install and configure Apache,PHP,MySql and phpMyadmin on ubuntu
Step 1:
Installing apache
The Apache HTTP Serveris the world’s most used web server software. Open Terminal. To open terminal click the Main Linux Mint Menu, then go to system tools and select Terminal or type terminal in the search field or click the Terminal icon in taskbar. And type the below code in terminal and hit enter.
sudo apt-get install apache2
Type your linux mint password and press enter.
Type y and hit enter to confirm apache installation.
![]()
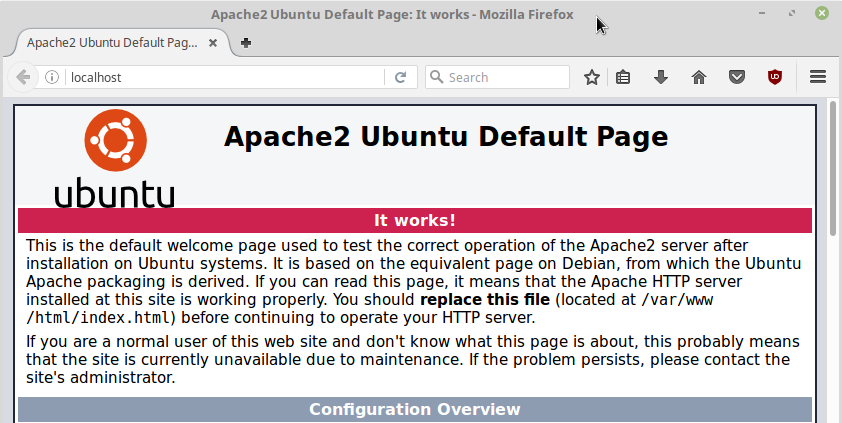
After the successful installation , open your favorite browser and type
http://localhost/
in the address bar and press enter. If you will see ‘It works!’ in the Apache2 Ubuntu Default Page, then your apache works fine.
Step 2:
Installing PHP
PHP is a server-side scripting language. To install php on linux mint open terminal and type the below code in terminal and hit enter.
sudo apt-get install libapache2-mod-php
Type your linux mint password if needed.
Type y and hit enter to confirm PHP installation. This will install the latest php version that is 7 on linux mint.
![]()
After the successful installation restart Apache using the below code
sudo /etc/init.d/apache2 restart
or
sudo systemctl restart apache2
Test PHP installation
To test PHP is installed, Type the below code in terminal and hit enter.
sudo xed /var/www/html/phpinfo.php
in the terminal and type your linux mint password if needed. It will open the phpinfo.php file in xed. Type below code in the phpinfo.php file, save and exit it.
<?php phpinfo() ?>
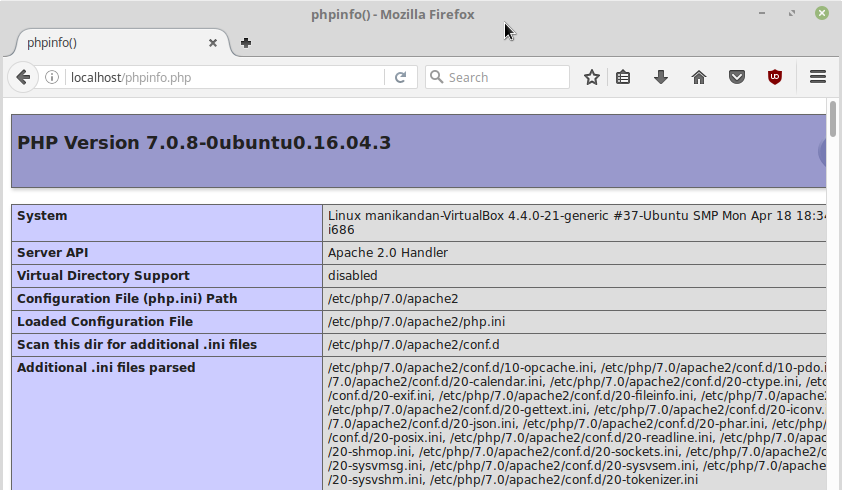
Now open your favorite browser and type
http://localhost/phpinfo.php
in the address bar and press enter. If you will see the below page , then your php works fine.
To check the installed PHP version in terminal, type the below command in terminal and hit enter.
php -v

Step 3:
Installing MySql
To install Mysql in your linux mint system, open terminal. And type the below code in terminal and hit enter.
sudo apt-get install mysql-server
Type your linux mint password if needed.
Type y and hit enter to confirm MySql installation.
![]()
During the installation you will be prompted for a password. Choose something secure and type the password and hit enter.

If asked again, repeat the password and press enter.
To install the mysql client, type the below command in terminal and press the enter key in your keyboard
sudo apt-get install mysql-client
To check the MySQL server status, use the below command
sudo systemctl status mysql
Install php mysql, php curl and php json modules:
To install php mysql, php curl and php json modules use the below command in terminal.
sudo apt-get install php7.0-mysql php7.0-curl php7.0-json
Step 4:
Installing phpMyadmin
phpMyAdmin is a free software tool written in PHP intended to handle the administration of MySQL over the World Wide Web.
Open your terminal. And type the below code in terminal and hit enter.
sudo apt-get install phpmyadmin
Type your linux mint password if needed.
Type y and hit enter to confirm phpMyadmin installation.
![]()
During the installation you will be prompted for a webserver configuration. Select
apache2
(already selected) press enter.
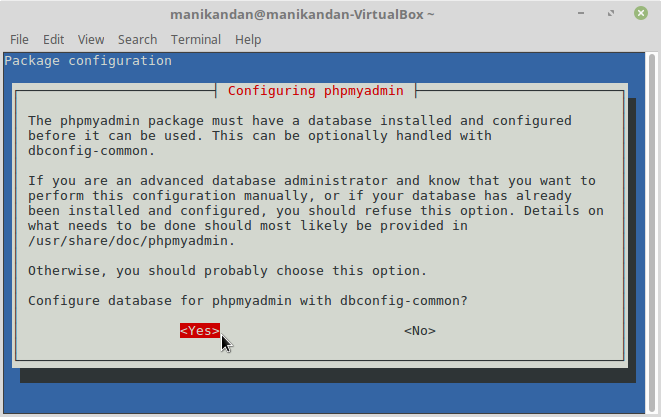
Now you will be prompted for a configure database for phpmyadmin wjth dbconfig-common.
Select ‘Yes’ to configure database for phpmyadmin wjth dbconfig-common.
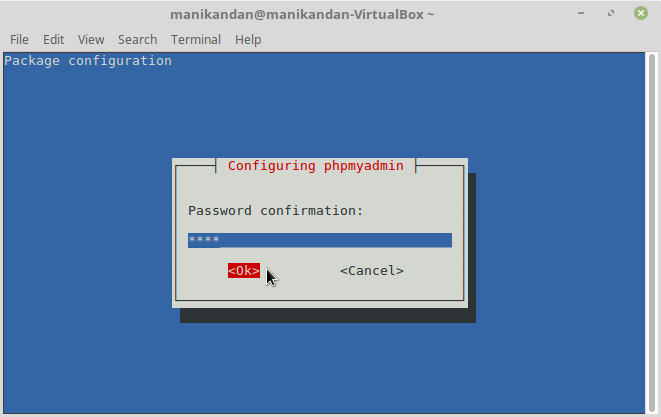
Now you will be promped for phpmyadmin configuration. Type your mysql application password for phpmyadmin
and press the down arrow key to point ok and hit the enter key.
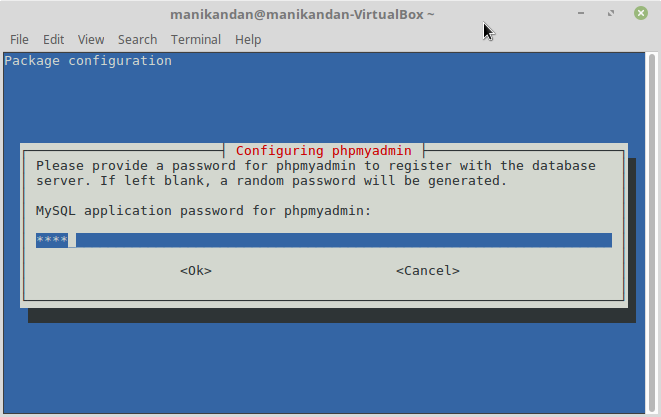
Again confirm the password and press OK.
restart your apache server using
sudo systemctl restart apache2
Type your linux mint password if needed. And restart your pc.
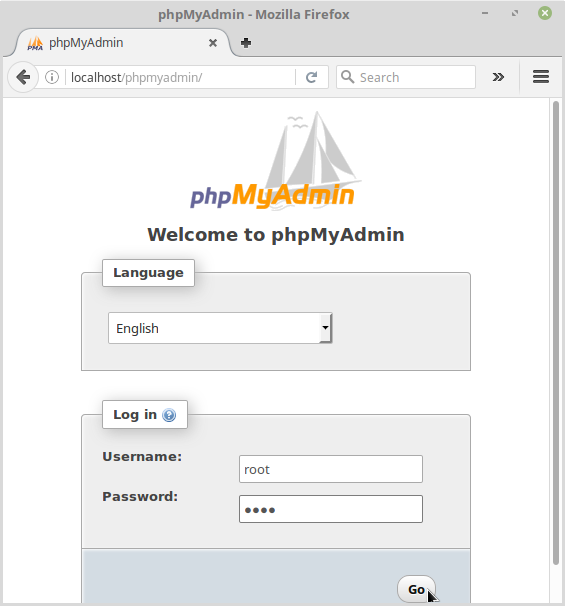
Open your browser and type
http://localhost/phpmyadmin/
in the address bar and press enter. It will open the phpmyadmin admin login page
Type your mysql root username and password to login.
In case phpMyAdmin is not working or you get an empty phpmyadmin page, then please do the following steps.
In your terminal windows, type the below command :
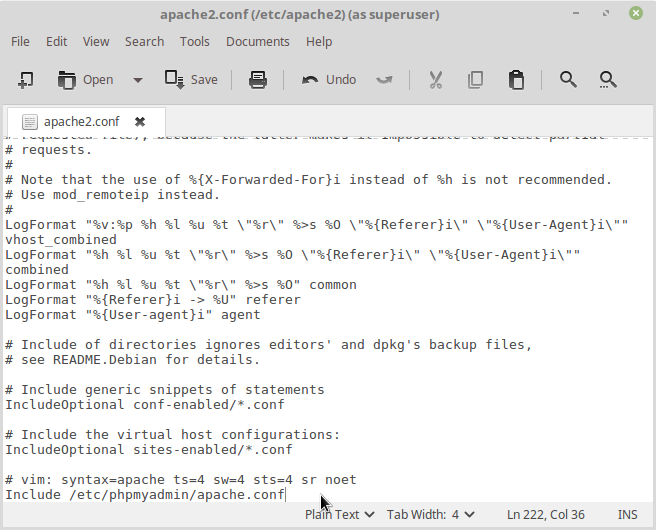
sudo xed /etc/apache2/apache2.conf
it will open the apache2.conf file in xed with root permission.
Add the below line at the end of the file and save and the exit it.
Include /etc/phpmyadmin/apache.conf
Restart apache service using the below command.
sudo systemctl restart apache2
Then type the below code in terminal.
sudo apt-get install php-mbstring php7.0-mbstring php-gettext
Then restart mysql using the below command.
sudo /etc/init.d/mysql restart
Then open your browser and type
http://localhost/phpmyadmin/
in the address bar and press enter. It will open the Phpmyadmin admin login page.
Type your username and password to login.
You’re now ready to start building your local website. just put all of your files into
/var/www/html/
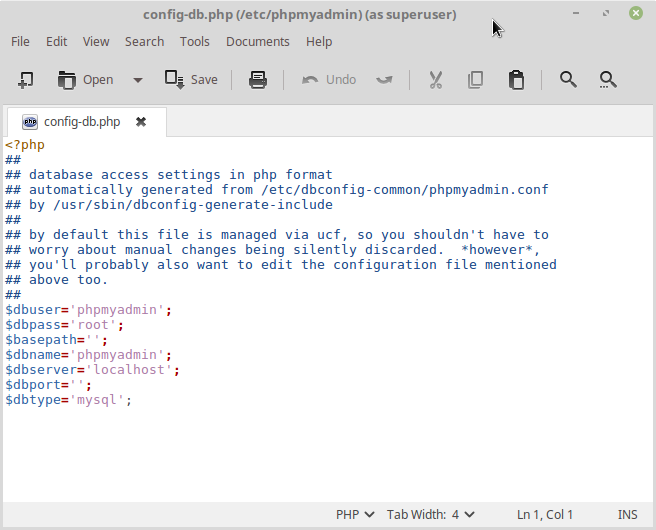
If you forget your username and password, just type the below command in terminal
sudo xed /etc/phpmyadmin/config-db.php
Note down the username and password.


After a week of frustration with “tutorials” that didn’t work, I finally now have everything working. Thanks for the very concise tutorial. Much appreciated.
Louie
thanks you very much it was very helpful
Thank you very much this was very helpful!
Very best steps!
Thanks for the steps
Great job, man! Thanks a lot 🙂
Thank you so much for such a detailed and straightforward guide.
It really helped me to setup everything in such a short period of time.
Thank you so much for the very clear instructions.
Thanks very much or the very good set of instructions
Many thanks, a great post with lots of details. Just tweeted,,:)
thnx Bro
Thank you so much. I was following old guides and trying my best to get this figured out. luckily I came across this guide and everything is now working in order. I can’t thank you enough
That was too quick and easy
Mad respect. Thanks a bunch. That was very helpful.
Grazie mille, funziona alla grande
Grazie per il tuo commento (tradotto)
Thank you very much this was very helpful. And as said above a big time saver.
Thanks a lot bro, this quick tutorial saved me tons of time! thank you very much!
hi
i went through your way to install apache2 and mysqlserver and phpmyadmin
but after instalation of phpmyadmin when i entered localhost/phpmyadmin
it showed me 404 not found what should i do to fix it ?
Thanks a million. This was very helpful. I did not have a clue to begin with but was able complete it following your steps.
Pingback: How to install and configure Apache,PHP,MySql and phpMyadmin on ubuntu | CONNECTwww.com