If you can’t access your WordPress admin or wp-admin because of any plugin conflict or an internal server error or any other thing and you want to troubleshoot your wordpress website then follow below methods to completely deactivate or disable all your wordpress plugins. And get back your wordpress admin access and then re-activate them one by one to find the problem.
Deactivate All WordPress Plugins Using FTP
Download and install any ftp client. You can try free Filezilla and WinSCP ftp clients.
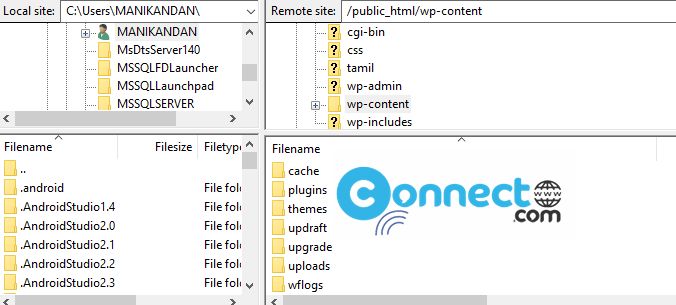
Open the installed ftp client and then connect to your website. For this you need your ftp host, port, username and password details. After the connection just navigate to the /wp-content/ folder. Inside the wp-content folder, you will get a folder called plugins.
Just right-click on the plugins folder inside the wp-content folder and select Rename.
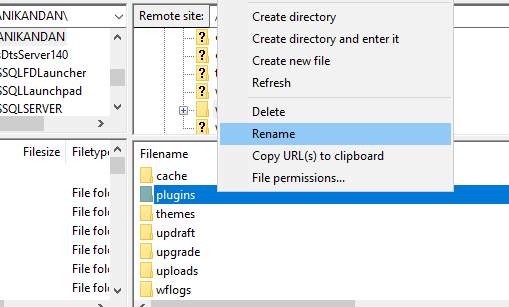
Then change the name of the plugins folder to anything else. example “.plugins_bak ”
Changing the plugins folder name deactivated all of your WordPress plugins. Now you can login your WordPress admin control panel. Now just in ftp client just rename the .plugins_bak folder back to plugins.
Then go to the Plugins page inside the WordPress admin and activate one by one the plugins. In this you can find the site breaking plugin. If you find the plugin which caused the issue, just go to the ftp client and find that plugin folder inside the plugins folder. And delete that plugin from your site.
Disable All WordPress Plugins Using cPanel
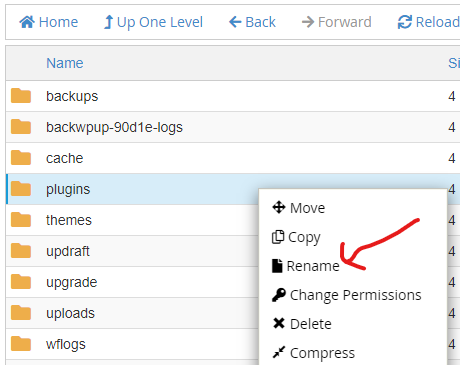
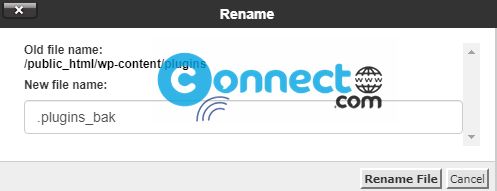
Login to your cPanel and go to the File Manager. Then navigate to the wp-content folder and right click on the plugins folder. Then select Rename and change the name to some thing like .plugins_bak and click rename file.
It will deactivate all plugins and now your can login your wordpress admin wp-admin control panel. Now rename back that folder to plugins again and go to the plugins page in wordpress admin. Now activate one by one to find the culprit.
Deactivate All WordPress Plugins using phpMyAdmin
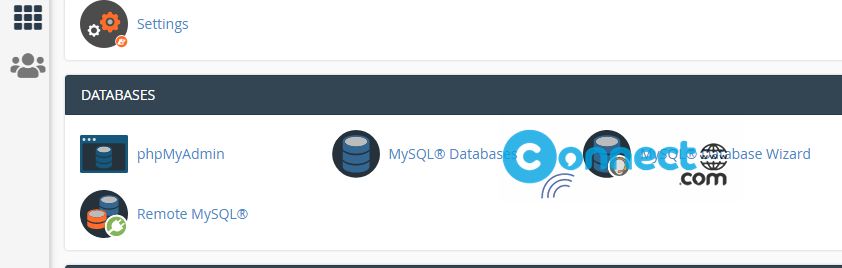
Login to your cPanel or your hosting control panel if you are using any other. Here we are using cPanel for this tutorial.
In your control panel click the phpMyAdmin . Its under Databases section in cPanel based control panels.
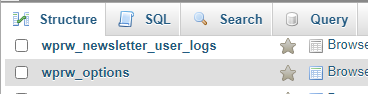
Then select your WordPress database from left sidebar and select _options table. It will look like wp_options or with some prefix before _options table name.
Then select show all check box to show all table.
Now find the find the option ‘active_plugins’ and then click on the ‘Edit’ menu link.
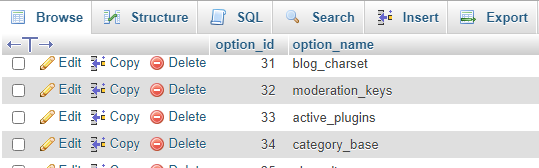
Then change the option_value field to a:0:{} and click on Go button.

You are done. Now you have successfully deactivated all WordPress plugins. That’s all.