Microsoft Defender Antivirus is a free anti antivirus application with GUI that comes preinstalled on Windows 10. It comes with Behavior-based, heuristic, and real-time protection against viruses, malware, and spyware. But you can also control and manage it via the Windows PowerShell. Windows PowerShell is a task automation command-line shell tool and scripting language. In this article we will see how to manage Microsoft Defender Antivirus via Windows PowerShell in Windows 10.
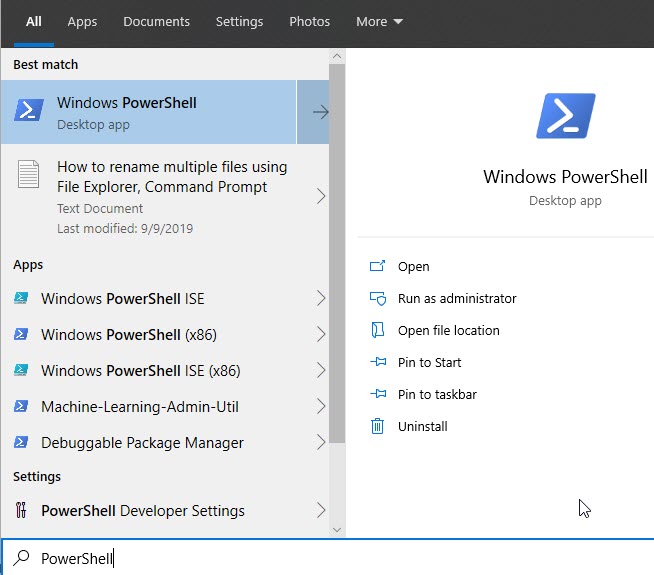
First you need to open the PowerShell via windows search and check if Microsoft Defender Antivirus is active. Type powershell in the Windows Start menu search bar and click on Run as administrator.
It will open the PowerShell in admin mode. Then run below command in PowerShell and hit the enter key
Get-MpComputerStatus
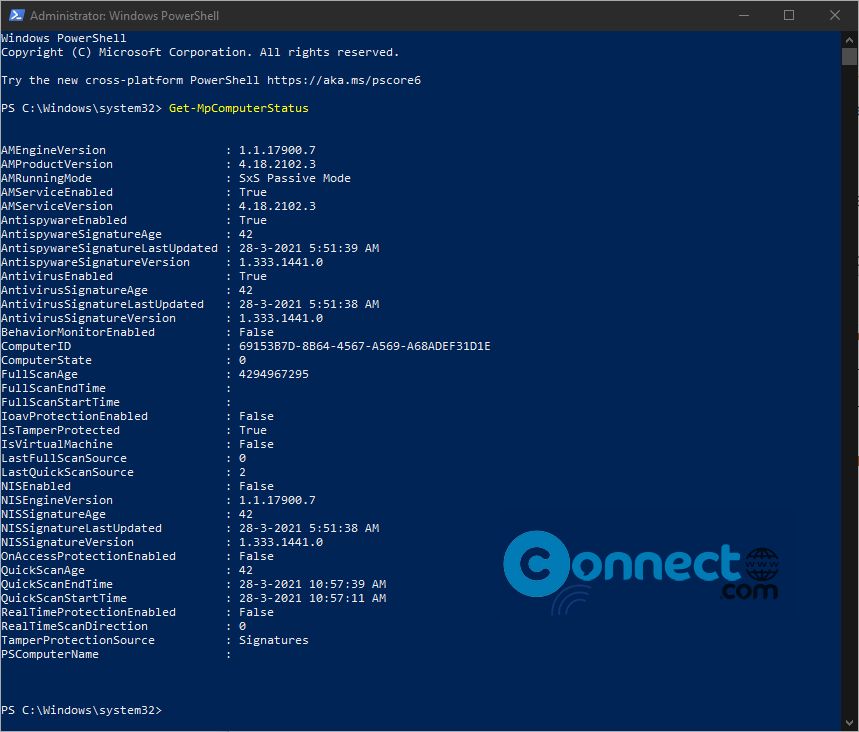
And check AntivirusEnabled is True. If false you need to enable Microsoft Defender Antivirus first. Open the windows security app by typing windows security in the Start menu search bar and open windows security. Then open Virus & threat protection and click on the Manage settings option. Enable Cloud-delivered protection and Real-time protection. that’s it.
Update Microsoft Defender Using PowerShell
Now run below command in PowerShell to update Microsoft Defender Antivirus.
Update-MpSignature
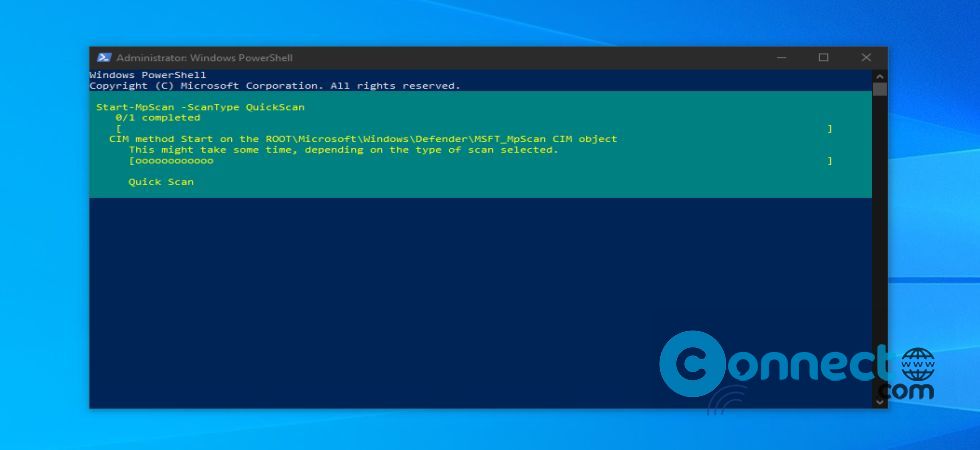
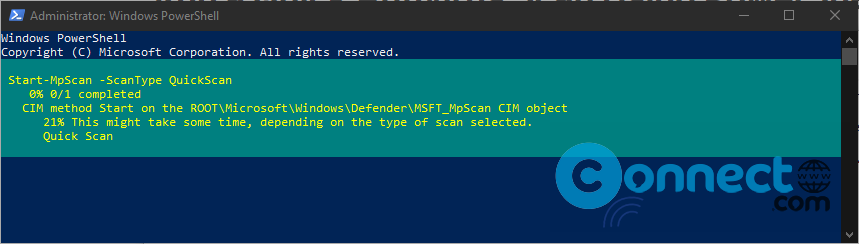
Quick Microsoft Defender Antivirus Scan Using PowerShell
You can run a quick antivirus scan using this command.
Start-MpScan -ScanType QuickScan
You can also Schedule this quick scan via
Set-MpPreference -ScanScheduleQuickScanTime 14:00:00
Replace “14:00:00” with your time.
Full Microsoft Defender Antivirus Scan Using PowerShell
Start-MpScan -ScanType FullScan
Run the scan in the background
Start-MpScan -ScanType FullScan -AsJob
You can also Schedule this full scan via below command. replace time with yours.
Set-MpPreference -RemediationScheduleTime 14:00:00
Run Microsoft Defender Antivirus Offline Scan
Start-MpWDOScan
Using this above methods you can manage Microsoft Defender Antivirus using Windows PowerShell. That’s it