VMware Workstation Player is a virtualization software for Linux and Windows. It is free for non-commercial, personal and home use. Using VMware Workstation Player application you can run multiple operating systems as virtual machines. It uses VMware vSphere Hypervisor technology for virtualization.
Download VMware Workstation Player [Linux]
Install VMware Workstation Player on Ubuntu
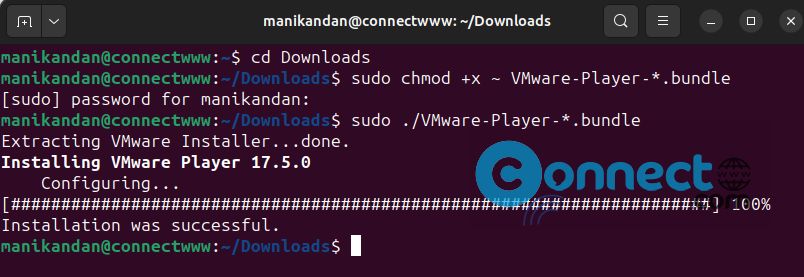
Download the VMware Workstation Player for Linux in .bundle file format from the above download link and save it on your Downloads folder. Now open the terminal application (ctrl+alt+t) and run below commands one by one.
cd Downloads
sudo chmod +x ~ VMware-Player-*.bundle
sudo ./VMware-Player-*.bundle
After that close the terminal app and open again and run below commands one by one.
sudo apt install gcc -y
sudo apt install make
sudo apt update
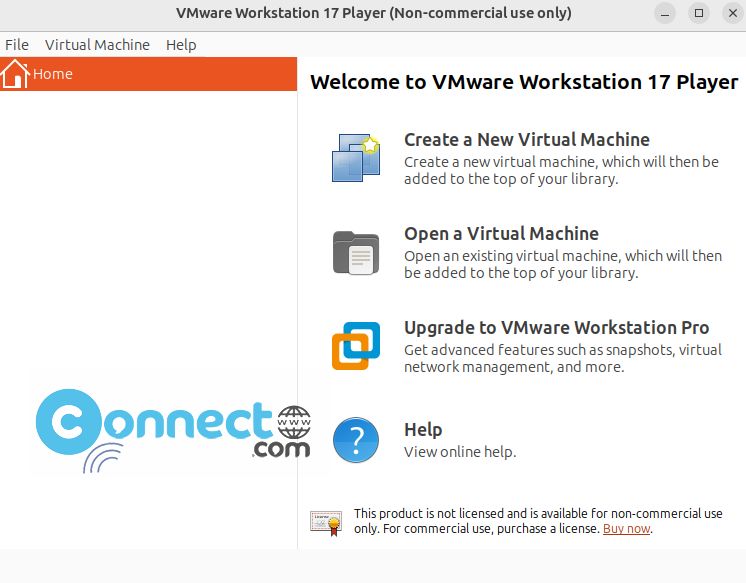
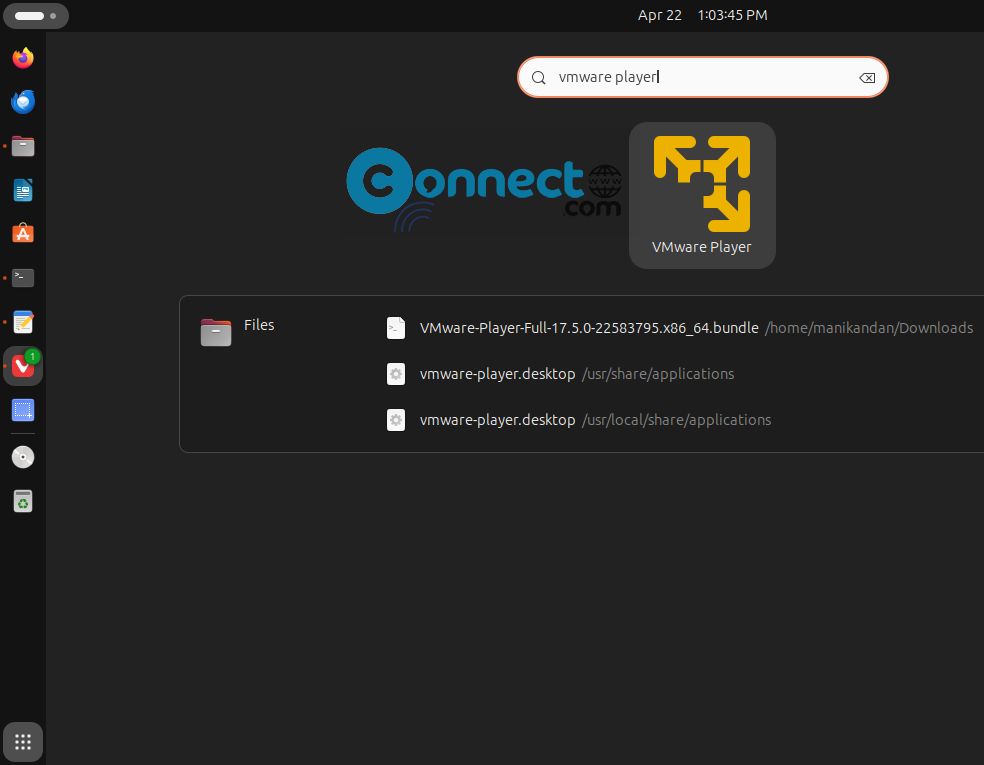
After the successfully installation, you can start VMware Workstation Player from Ubuntu dock Show Apps menu.
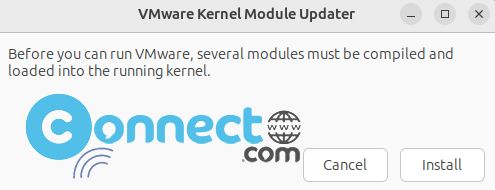
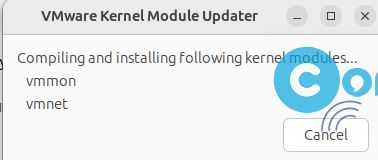
For the first time it will open the VMware kernel module updater. Just click the Install button.
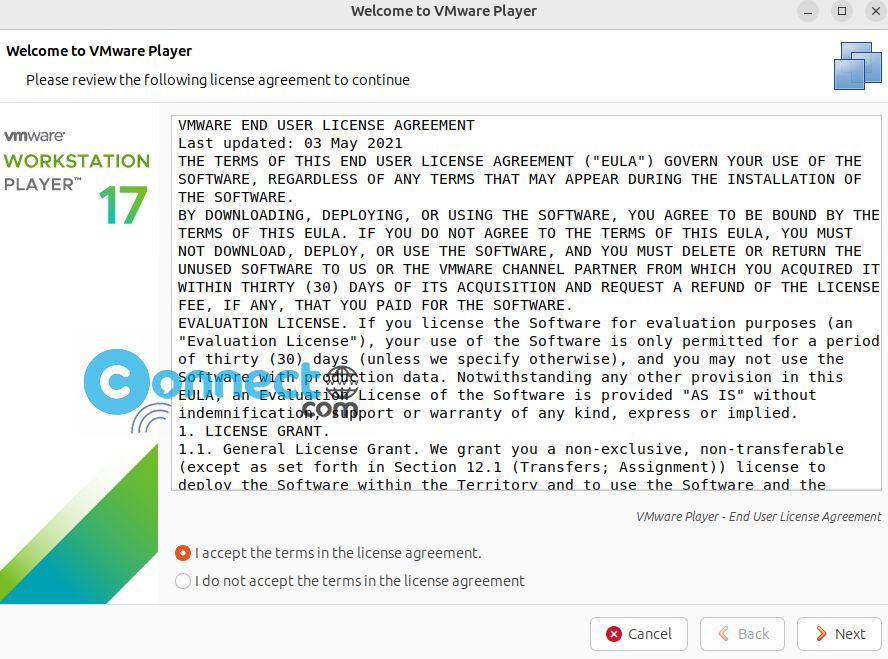
After that accept the terms.
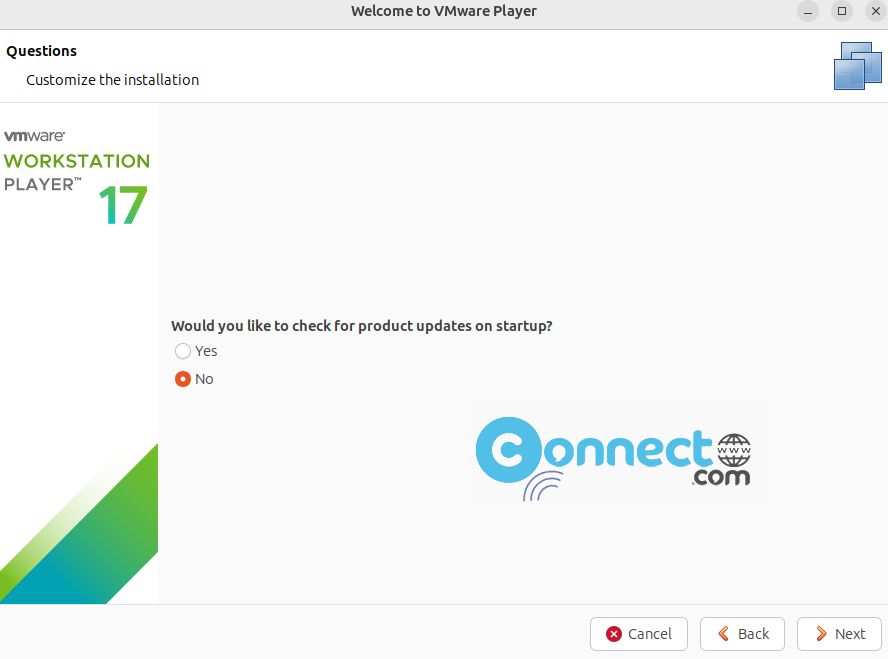
Turn off product updates on startup.
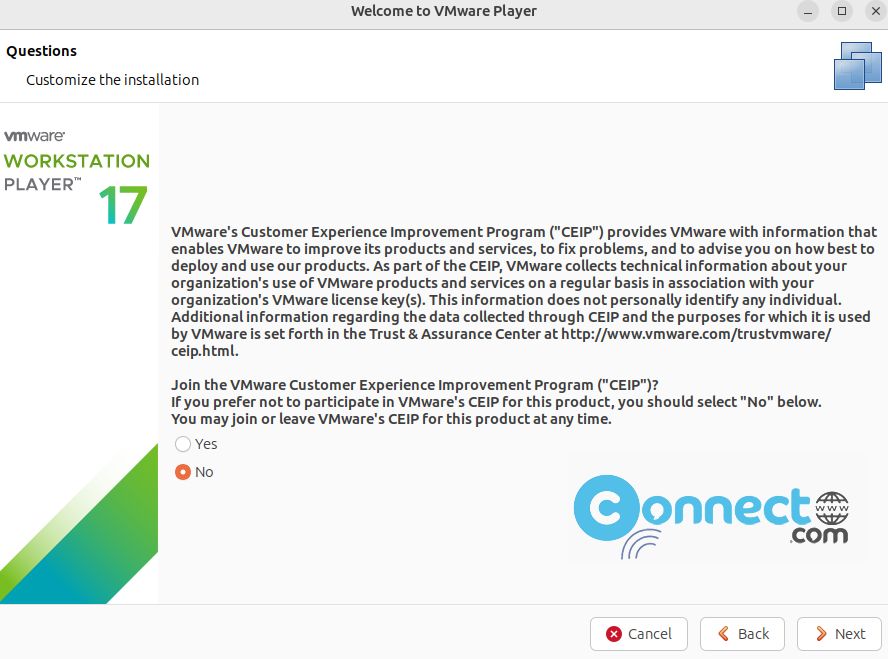
Select No for CEIP
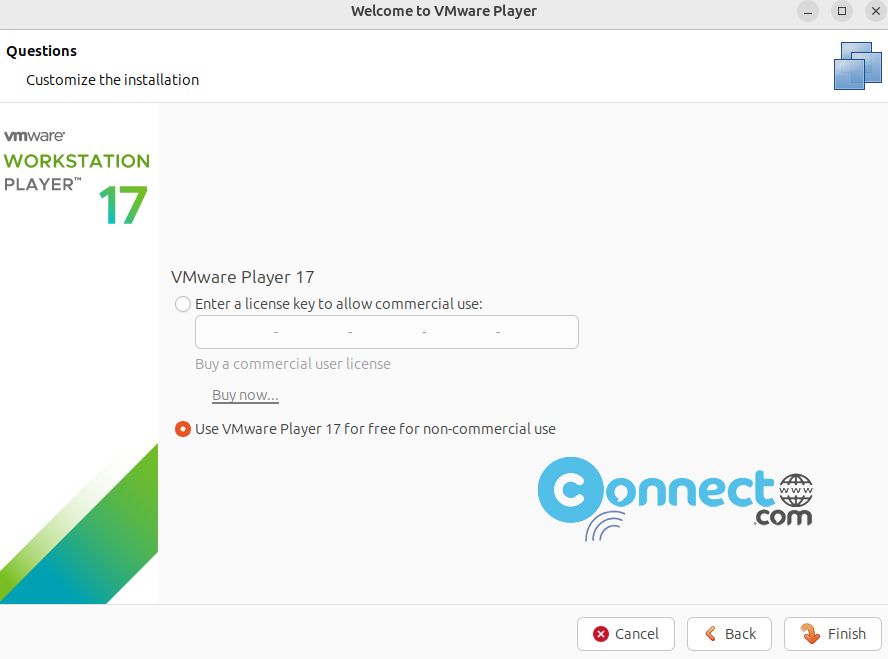
If you have license then enter or select Use free for non-commercial use
WATCH :
Finally click Ok to open the VMware Workstation Player interface