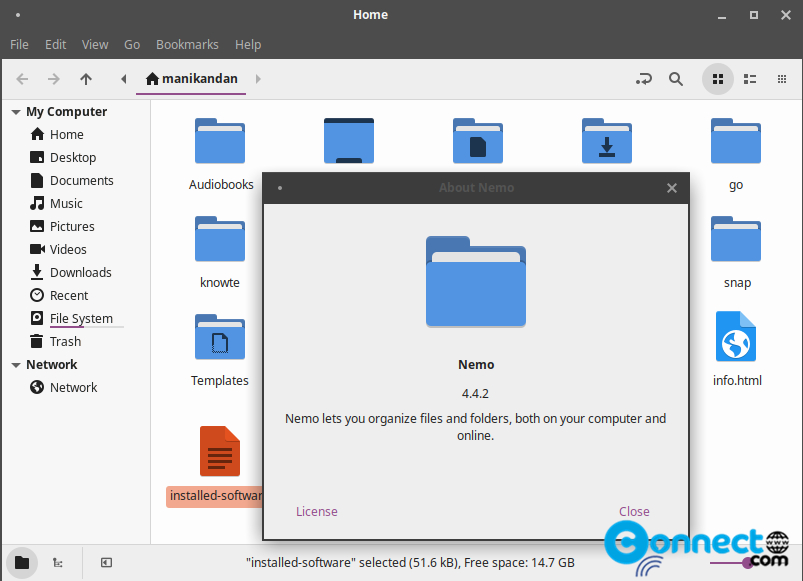
Nemo is a free and open source file manager for Linux system. It is the default file manager for Cinnamon desktop environment and specially designed for the Cinnamon desktop. But you can also install it on any other Linux desktop environment. It is a fork of Nautilus (GNOME Files) file manager. It is released under GNU general Public Version 2 license. Some of the unique features other than Nautilus are dual panel view, type-ahead search, tree view, configurable toolbar, Open as root, Open in terminal and many more. It also supports plugins. using this you can add and enhance nemo features.
Install Nemo file Manager on Ubuntu
Nemo installation is a easy process in Ubuntu. Just open terminal software (ctrl+alt+t) and run this Nemo installation commands one by one.
sudo apt update
Enter your Ubuntu user password. Then
sudo apt install nemo
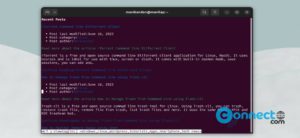
You can open Nemo file manager via this command in terminal.
nemo
Install Nemo extensions:
First run this command to list all available nemo extensions in Ubuntu.
sudo apt-cache search nemo
Then install the nemo extensions using below command syntax
sudo apt install PACKAGENAME
replace the PACKAGENAME name with the extension name.
Example: For Nemo extension for Font Manager
sudo apt install nemo-font-manager
Set Nemo as Default File Manager:
Run this command to set Nemo file manager as the default file manager in Ubuntu.
Note: Changing this may lead to conflicts and broken systems.
xdg-mime default nemo.desktop inode/directory application/x-gnome-saved-search
gsettings set org.gnome.desktop.background show-desktop-icons false
gsettings set org.nemo.desktop show-desktop-icons true