Open Live Writer is open source blog editor that allows you to create blog posts, add photos and videos then publish to your website.It is an fork of Microsoft’s Windows Live Writer. It supports WordPress, SharePoint, Movable Type, Blogger, TypePad and DasBlog blog services. It is relased under MIT license.
Setup Open Live Writer and WordPress blog
Download Open Live Writer from this link. The downloaded installer size is just over 5MB. Before you install Open Live Writer, please make sure you have an active WordPress.com blog. If you don’t already have one, you can Signup the blog from this link.To install the Open Live Writer just double click the installed.
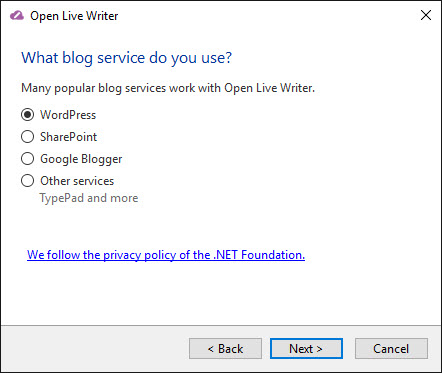
In the What blog service do you use field, select WordPress and click next.
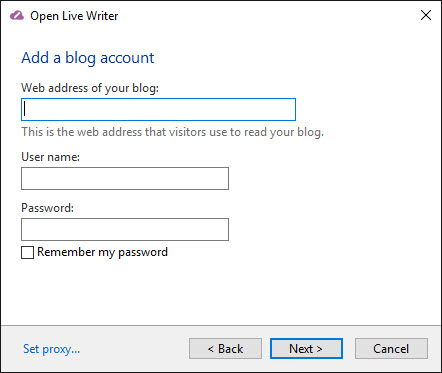
In the Next screen Type your WordPress blog address, username and password and click next.
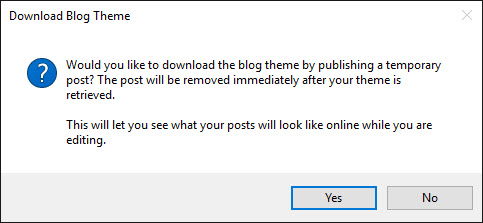
Click Yes if you want to see what your posts will look like online while your are editing. This will try to download your wordpress blog theme.
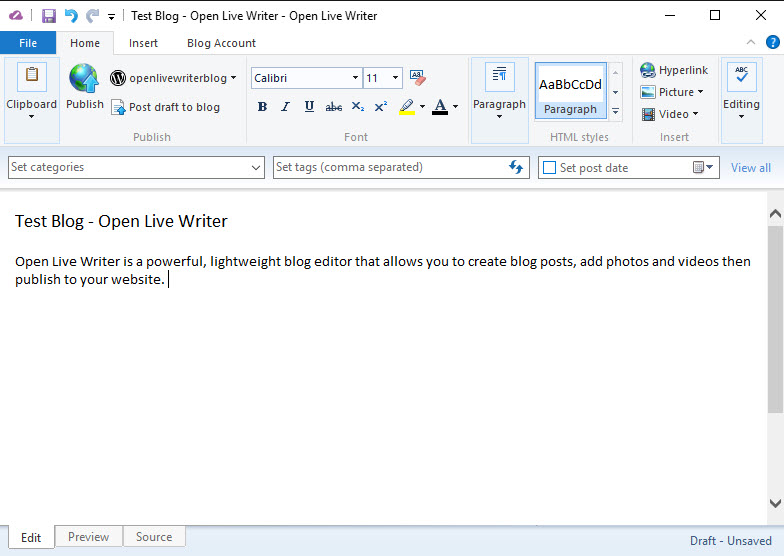
Write your blog tittle and content. Set the categories and tags. After that hit the Publish button on your Open Live Writer.
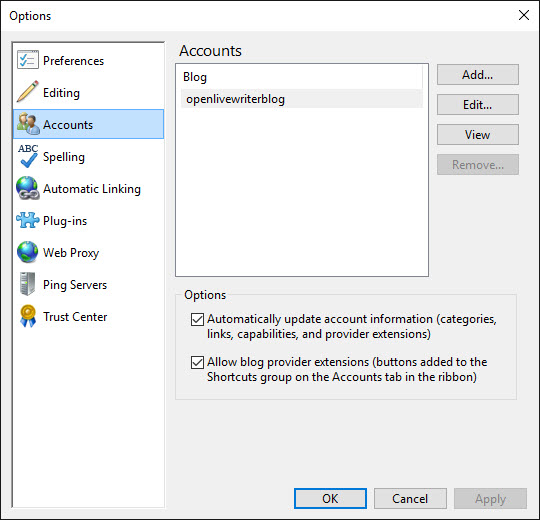
You will add more accounts later by going to File->Options->Accounts
The Blog Account tab allows to configure blog description, managing comments, choosing theme and setting various blog options.