WordPress comes without any brute force password attack protection and other options to limit bad failed login attempts by default. But you can protect your WordPress site from hackers and prevent such brute force attacks on your website by trying to guess your WordPress admin password using the Login LockDown WordPress plugin. The free version is all you need for this purpose
How to prevent brute force password attacks in WordPress
First you need to install and activate the Login LockDown WordPress plugin on your WordPress website.
Install Login LockDown WordPress plugin on your Website:
Login to your WordPress admin dashboard. (wp-admin/login).
In your WordPress admin dashboard click plugins and select Add New.
Type Login LockDown in the search field and press the enter key.
Click the Install Now button in Login LockDown WordPress plugin by WebFactory Ltd.
After the successful installation click the activate Plugin link to activate Login LockDown.
You can also download and install Login LockDown WordPress Plugin manually from the below download link.
Go to Plugins-> Add New-> Upload Plugin and upload the downloaded plugin .zip file and install.
Setup Login LockDown in WordPress:
After the activation, go to Settings -> Login LockDown page and then click on the Login Protection tab.
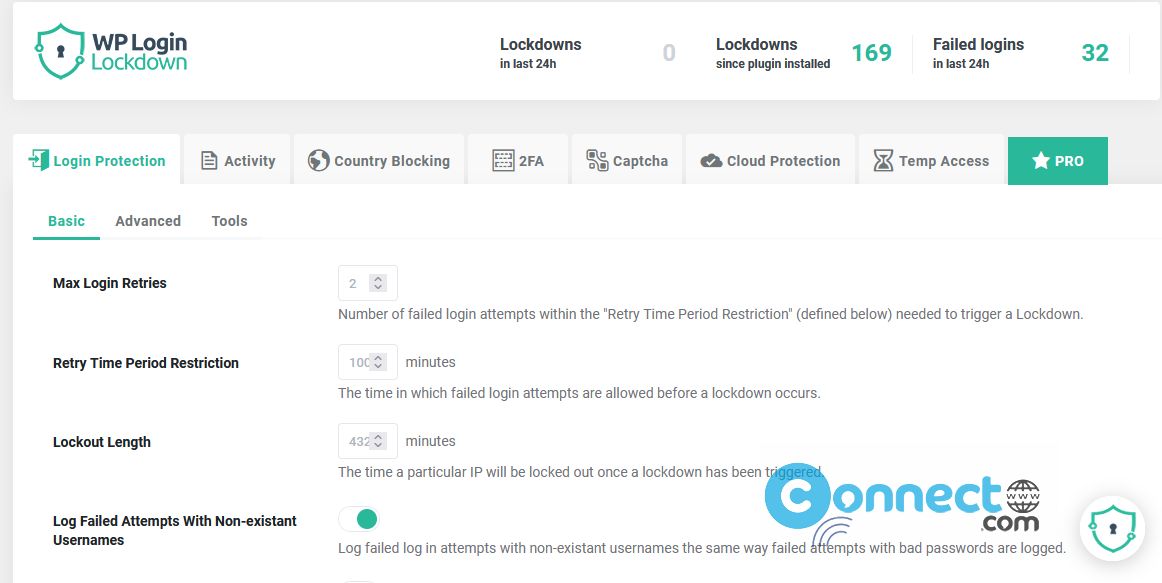
Here you can set Max Login Retries, Retry Time Period Restriction, Lockout Length, Log Failed Attempts With Non-existant Usernames. The default settings will work for most websites, but you can also change it based on your taste.
Then click the ‘Save Settings’ button at the bottom of the screen to store your changes.