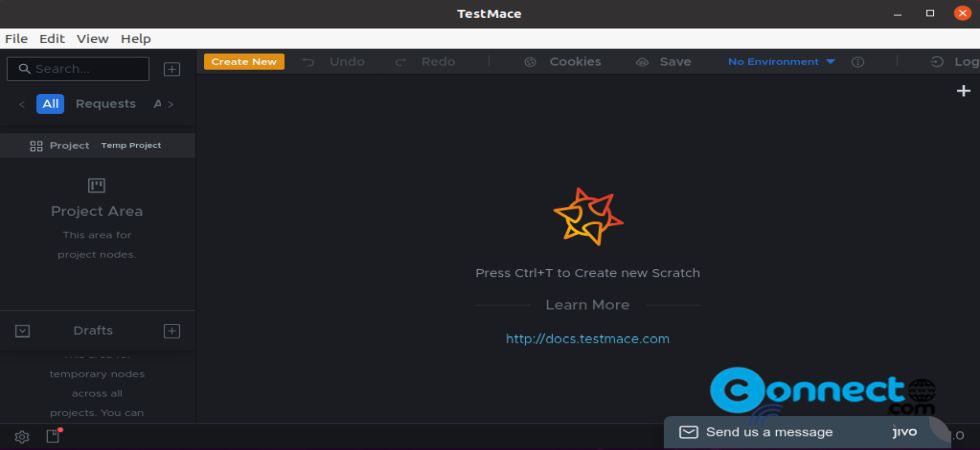
TestMace is a API Testing Development IDE for Windows, Linux and MacOS. It is available in free and Paid versions. Using this you can test your API, share your code and it comes with auto completion and syntax highlight. The basic version is completely free for commercial use also. The free version comes with tests editor and scenarios, YAML format support, JS scripts and Embedded authentication methods. You can also import requests from cURL, Postman collections and importing API from Swagger and OpenAPI.
Install TestMace API tool on Ubuntu
TestMace is available as portable .AppImage and snap package format for Ubuntu.
Install TestMace via Snap:
Open your terminal software by pressing (ctrl+alt+t) keys together. Then run TestMace snap installation command.
sudo snap install testmace
If needed enter your Ubuntu user password.
Install TestMace via AppImage:
Download TestMace AppImage file from the above link and save it on your Downloads folder. Then run below commands one by one in your terminal.
cd Downloads
sudo chmod +x ~ TestMace.AppImage
Then run TestMace with below command
./TestMace.AppImage
[OR]
sudo ./TestMace.AppImage