Looking to protect your online activity on Ubuntu? Follow these quick steps to install NordVPN for Linux and start browsing securely within minutes. NordVPN is a popular virtual private network (VPN) service that comes with a subscription and helps protect your online privacy and security. It encrypts your internet connection, hides your IP address, and allows you to browse safely on public Wi-Fi or access region-restricted content.
Install the Linux NordVPN app with GUI
Open the Terminal and run the following command:
sh <(wget -qO - https://downloads.nordcdn.com/apps/linux/install.sh) -p nordvpn-gui
This command downloads and installs the NordVPN app with a graphical user interface (GUI), allowing you to connect easily without using the terminal each time.
Then run this commands one by one in your terminal and restart your system.
sudo groupadd nordvpn
sudo usermod -aG nordvpn $USER
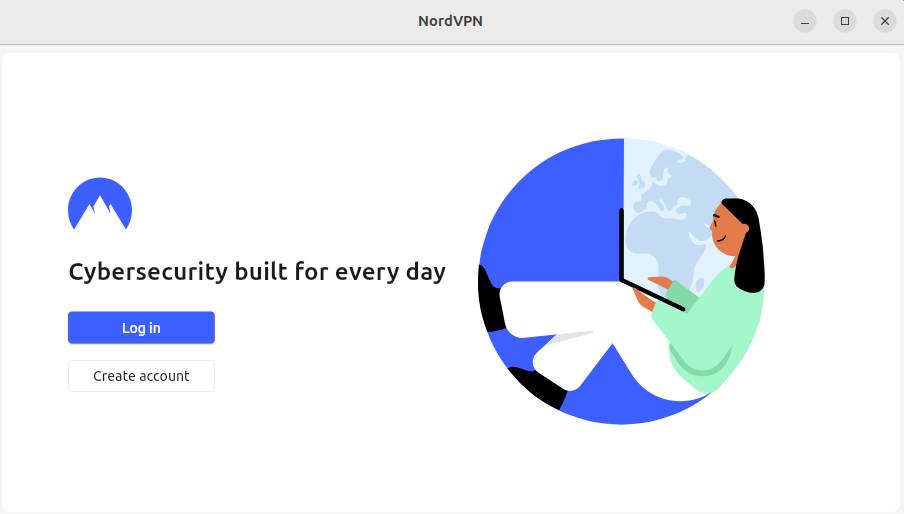
Once the installation finishes, locate the NordVPN icon in your Show Apps applications menu and open it. or you can also open it using below command.
nordvpn-gui
Log in using your Nord Account email and password. Click “Quick Connect” to automatically connect to the best available server.
Install NordVPN via Snap
If you prefer using Snap packages, install NordVPN with below command in your terminal app.
sudo snap install nordvpn
After the installation run below commands one by one.
sudo snap connect nordvpn:network-control
sudo snap connect nordvpn:firewall-control
sudo snap connect nordvpn:network-observe
sudo snap connect nordvpn:login-session-observe
sudo snap connect nordvpn:system-observe
sudo snap connect nordvpn:hardware-observe
Now locate the NordVPN icon in your Show Apps Ubuntu dock applications menu and open it.
That’s it, now your Ubuntu system is now secured with NordVPN. Enjoy encrypted, private, and unrestricted browsing on Linux.