MX Linux is a Debian based Linux operating system using core antiX components. MX Linux uses the Xfce desktop environment and comes with UEFI installer (64bit & 32bit), automatic enabling of most Broadcom drivers, LUKS encrypted root, home, and swap partition options.In this Install MX Linux on Oracle virtualbox tutorial i am using the below softwares to test it.
MX Linux 18.3(64-bit), Download MX Linux from here
Virtualbox 6.0.10. Download VirtualBox from here
Windows 10 (64bit) with RAM 4GB
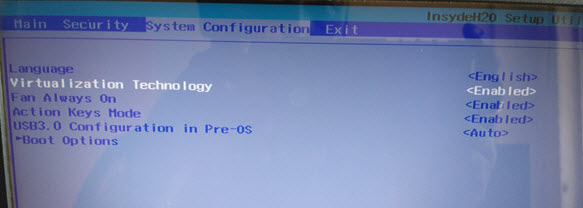
Note: If you are using 64-bit guests, you need to enable hardware virtualization in the BIOS on your host system. Boot to your bios settings and find the virtualization or virtualization technology or hardware virtualization or VT-x or AMD-V option and Enable it. For reference see the below image.
First download and install the latest version Oracle VirtualBox from the above download link.
Install MX Linux:
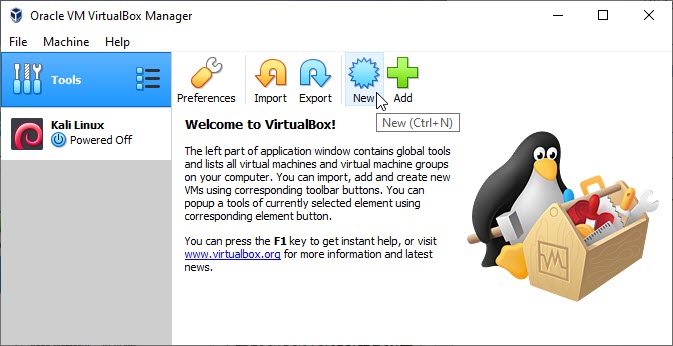
After the successful installation of Oracle VM VirtualBox, open it and click New to create a new virtual machine in your OS.
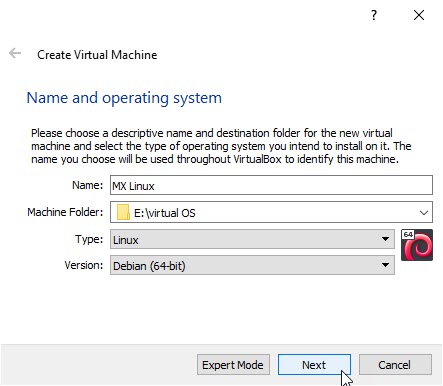
Name your MX Linux OS as MX Linux, then choose your Virtual machine path where you want to save the virtual OS. Select Linux as Type from the drop down and select Debian(64bit) as version and click Next button.
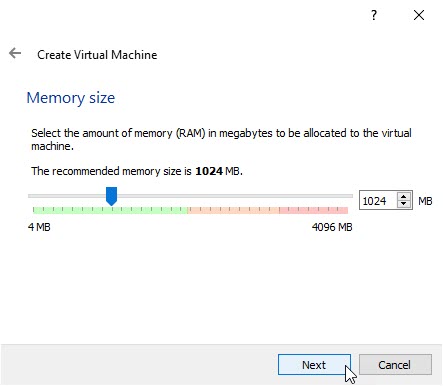
The minimum system requirements for MX Linux is 512 MB of RAM memory and recommended size is 2 GB Ram. So set 1024 MB or more than 2048 MB as RAM based on your system memory and click Next button. If you don’t have much memory just leave the option as default 1024 MB.
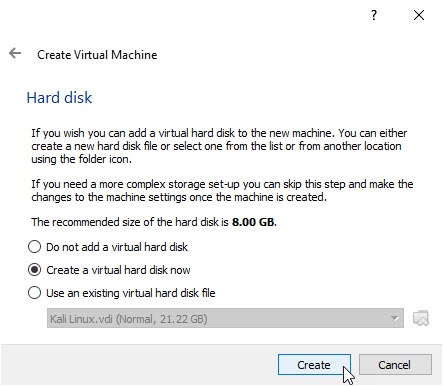
Select Create a virtual hard drive now option and click Create button. And then select VDI (VirtualBox Disk Image) and click Next button.

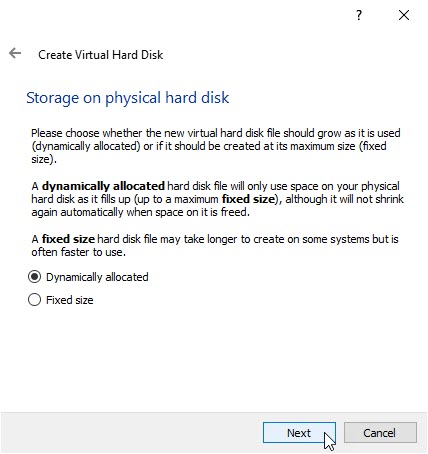
Select Dynamically allocated and click Next.
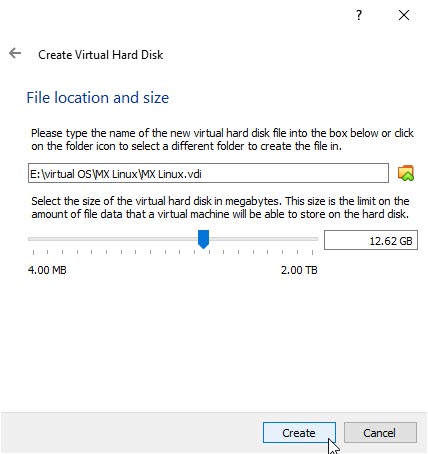
Type any name and select location of new virtual hard drive by clicking the folder icon. And select the size. Recommended size is a minimum of 12 GB of disk space for MX Linux. The good option is 20 GB and more. And then click create button. It will create MX Linux virtual hard drive on your system.
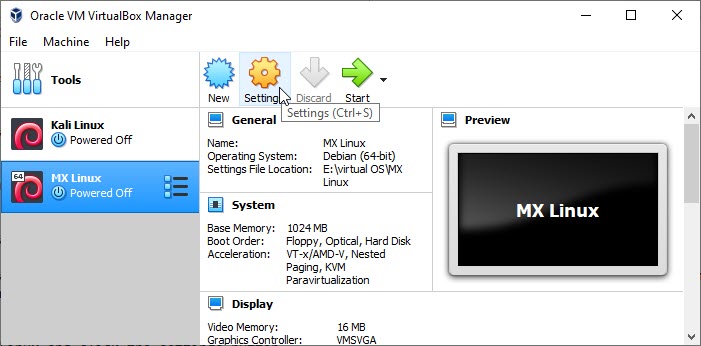
Now select MX Linux and click the settings button.
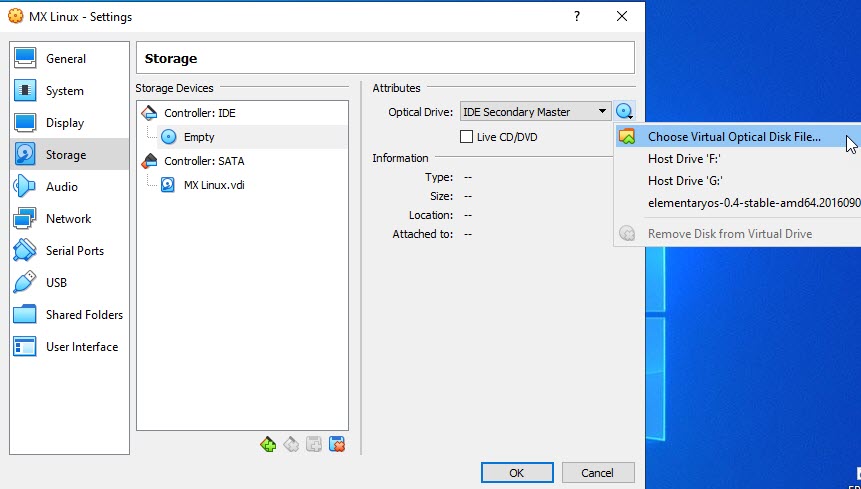
It will open the settings window. In this window select Storage from left sidebar menu and select Empty under Controller:IDE. Then click the CD icon under CD/DVD Drive and select choose a virtual CD/DVD disk file. And browse the downloaded MX linux ISO file that is MX-18.3_x64.iso file.
Then go to System tab from left sidebar menu and under Motherboard tab enable the Input/Output APIC. Then click the Acceleration tab and check/enable the hardware virtualization features VT-x/AMD-V and Nested paging . Then go to the Processor tab and enable/check the PAE/NX feature and click Ok button.
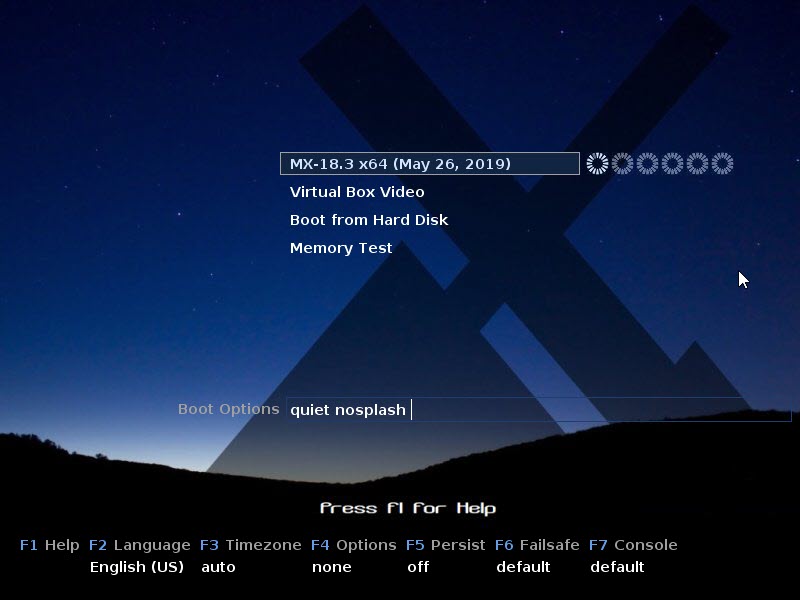
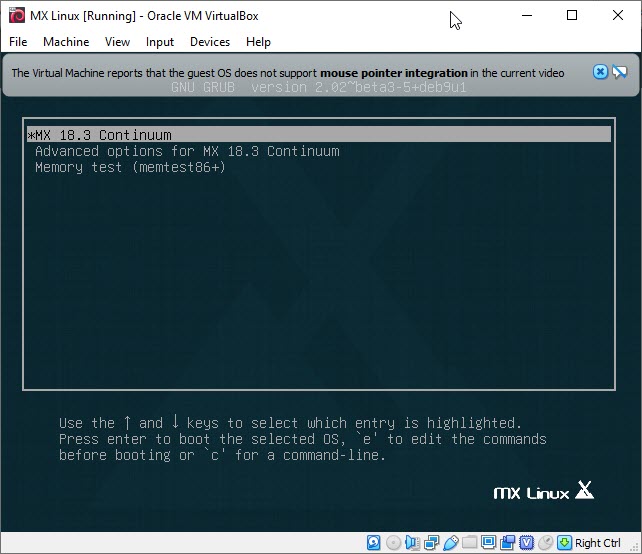
Select the MX linux from the left side menu and click the Start button. It will start the MX Linux boot menu select MX-18.3 to start MX Linux live MX Linux .
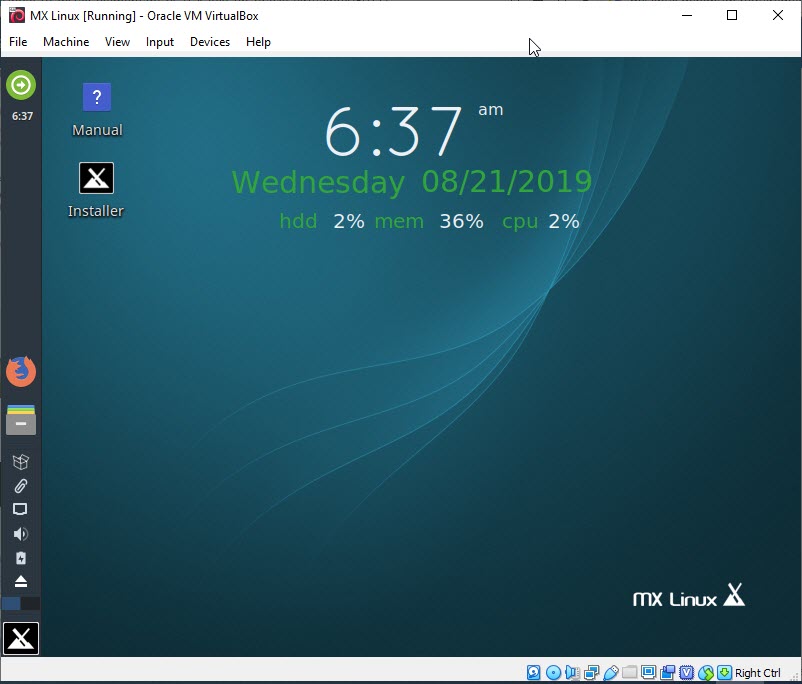
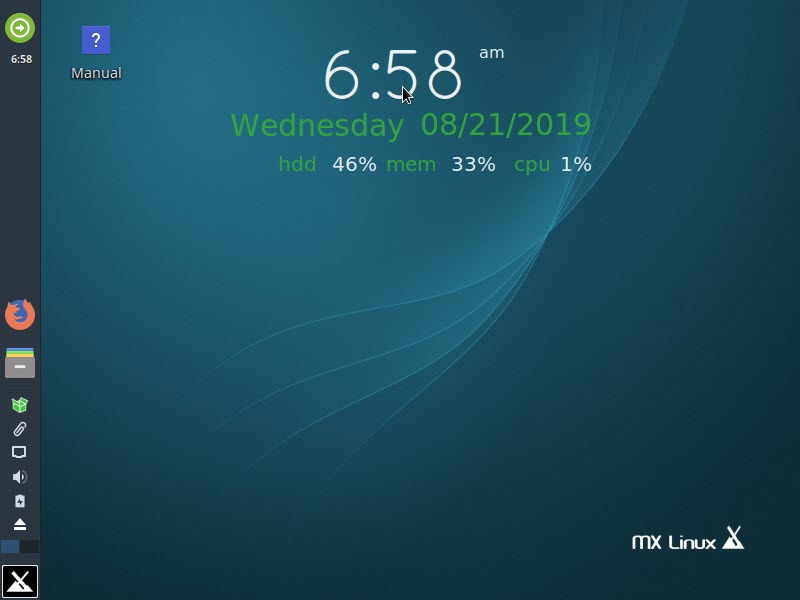
For the live MX Linux the default username and password is demo and root password is root. Just close this window and run the Installer from the desktop Installer icon to install MX Linux on your virtual machine.
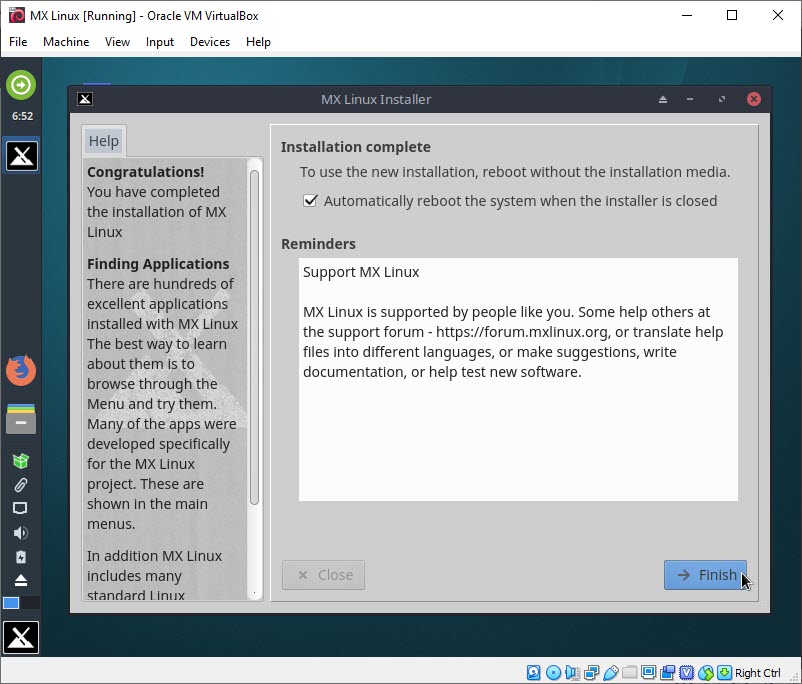
And complete the installation with your details and click the finish button in final step. It will reboot your MX linux. That’s all the MX Linux installation is complete.
Pingback: How to Install MX Linux on Oracle Virtualbox – Linux directory