CMake is a free and pen source Build System (Makefile Generator) for Linux, Windows and MacOS. Using CMake, you can build, test, and package software. It comes with GUI and command-line support, single-source builds across diverse platforms, ensuring precision in handling dependencies , out-of-source builds, multiple target-build systems, cross platform installation and testing system, debugger Integration and many more.
Install CMake on Ubuntu Linux
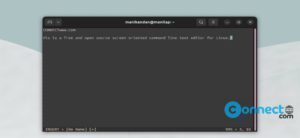
To install CMake on your Linux system, open the terminal application (ctrl+alt+t) and run below CMake install command.
sudo apt install cmake cmake-qt-gui
You can test the installation using below command.
cmake --version
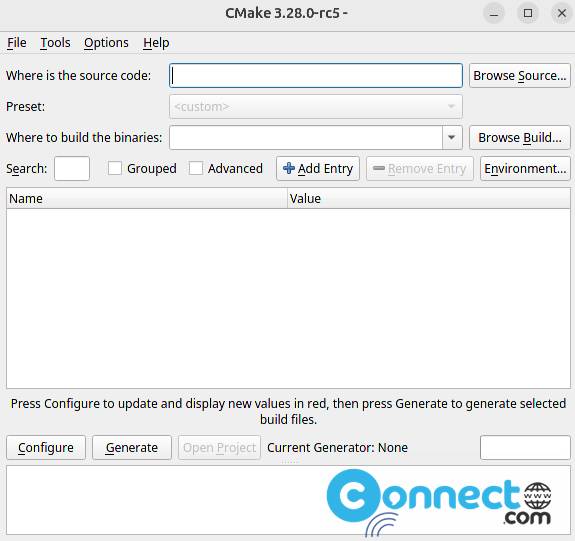
And open the CMake GUI using below command.
cmake-gui
For complete help details run below command.
cmake --help
And you can also uninstall it using below command.
sudo apt purge cmake cmake-qt-gui
Install CMake via Official Site:
Download CMake for linux from the above download link in the .sh file format and save it on your Downloads folder.
Note: Here the downloaded file name is “cmake-3.28.0-rc5-linux-x86_64.sh”. You can change below commands based on your downloaded file name.
cd Downloads
sudo chmod +x cmake-3.28.0-rc5-linux-x86_64.sh
./cmake-3.28.0-rc5-linux-x86_64.sh
Accept the license and confirm the installation directory and complete the installation. And go to the installation folder and run “cmake-gui” to open CMake.
Install CMake via Snap:
You can also install CMake using below snap install command. Open the terminal app and run below command. It will install the latest version of CMake on your system.
sudo snap install cmake --classic
And remove it using below command.
sudo snap remove cmake