Apache Solr is a free and open-source enterprise search platform based on Apache Lucene Java library. It is very fast and comes with distributed indexing, full-text search capabilities, navigation, load-balanced querying and many more. In this guide, you will get Apache Solr running on the Ubuntu Linux system.
1.Install Java
2.Install Apache Solr
3.Manage Apache Solr Service
4.Create New Apache Solr Core
5.Access Apache Solr Admin Panel
6.Allow Apache Solr Public Access
Install Apache Solr on Ubuntu
1. Install Java on Ubuntu
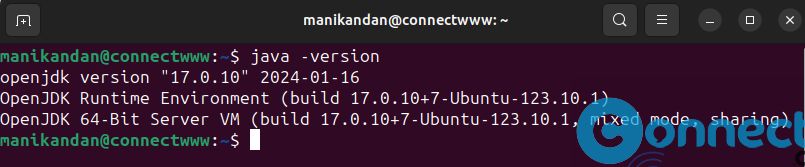
To install and run latest Apache Solr on your Ubuntu system, you need latest Java JDK release. First confirm whether Java is already installed in your system. Open the terminal app (ctrl+alt+t) run this command.
java -version
If you don’t have java then install the latest version of Java using below command.
sudo apt install default-jdk -y
2.Install Apache Solr on Ubuntu
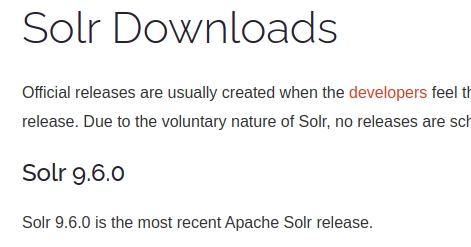
Go to the Apache Solr download page and check the Apache Solr current stable version number.
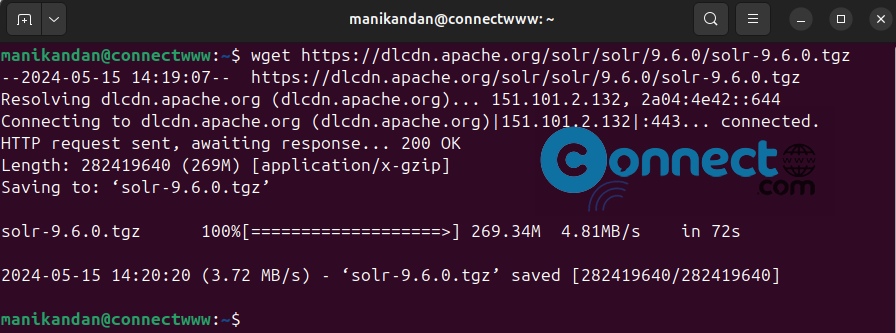
Now in the terminal application run this command to download Apache Solr.
Note: You can change all below commands based on your downloaded Apache Solr version. At the time of writting the stable version is 9.6.0
wget https://dlcdn.apache.org/solr/solr/9.6.0/solr-9.6.0.tgz
Now extract the Apache Solr service installer shell script from the Solr archive file using below command.
tar xzf solr-9.6.0.tgz solr-9.6.0/bin/install_solr_service.sh --strip-components=2

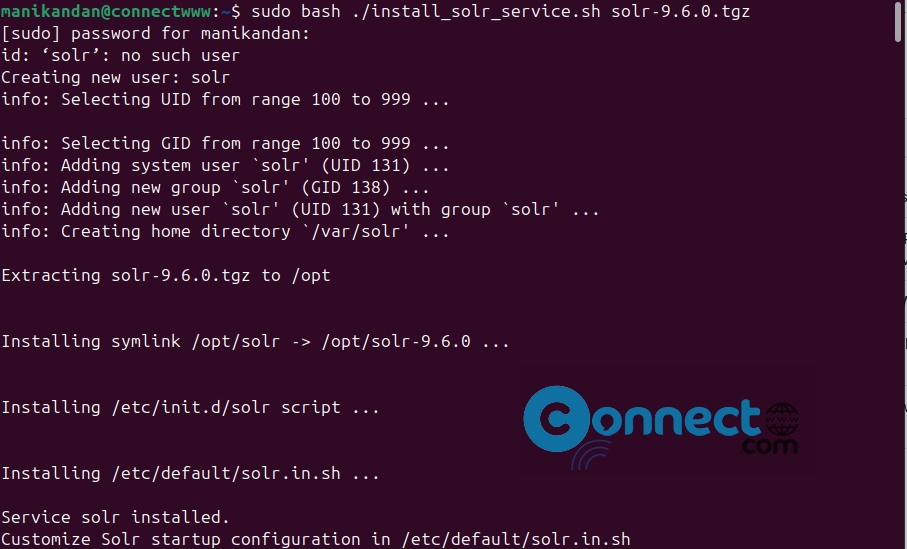
After that start the Solar installation on Ubuntu by running the following command.
sudo bash ./install_solr_service.sh solr-9.6.0.tgz
3.Manage Apache Solr Service
You can start solr service using this command.
sudo systemctl start solr
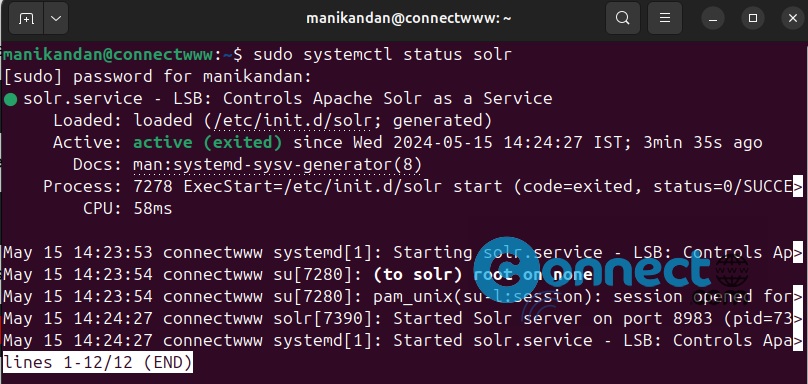
Andcheck the status of Solr service using below command.
sudo systemctl status solr
4.Create New Apache Solr Core
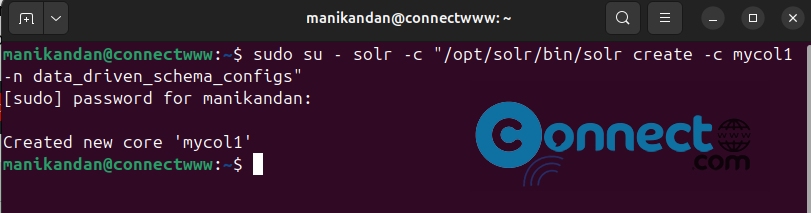
Now create the first collection or core in Apache Solr using the below command.
sudo su - solr -c "/opt/solr/bin/solr create -c mycol1 -n data_driven_schema_configs"
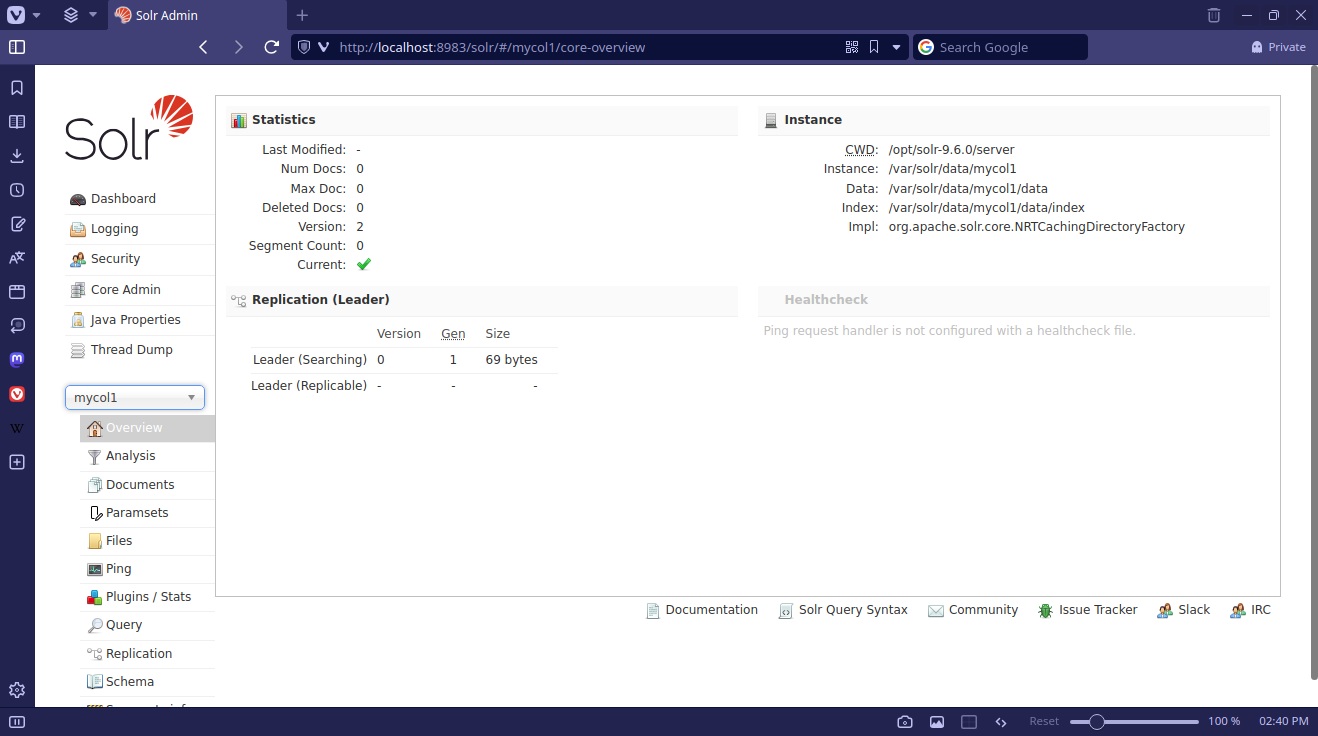
5.Access Apache Solr Admin Panel
Open any web browser and go to the below web address.
Note: By default Apache Solr runs on port 8983.
http://localhost:8983
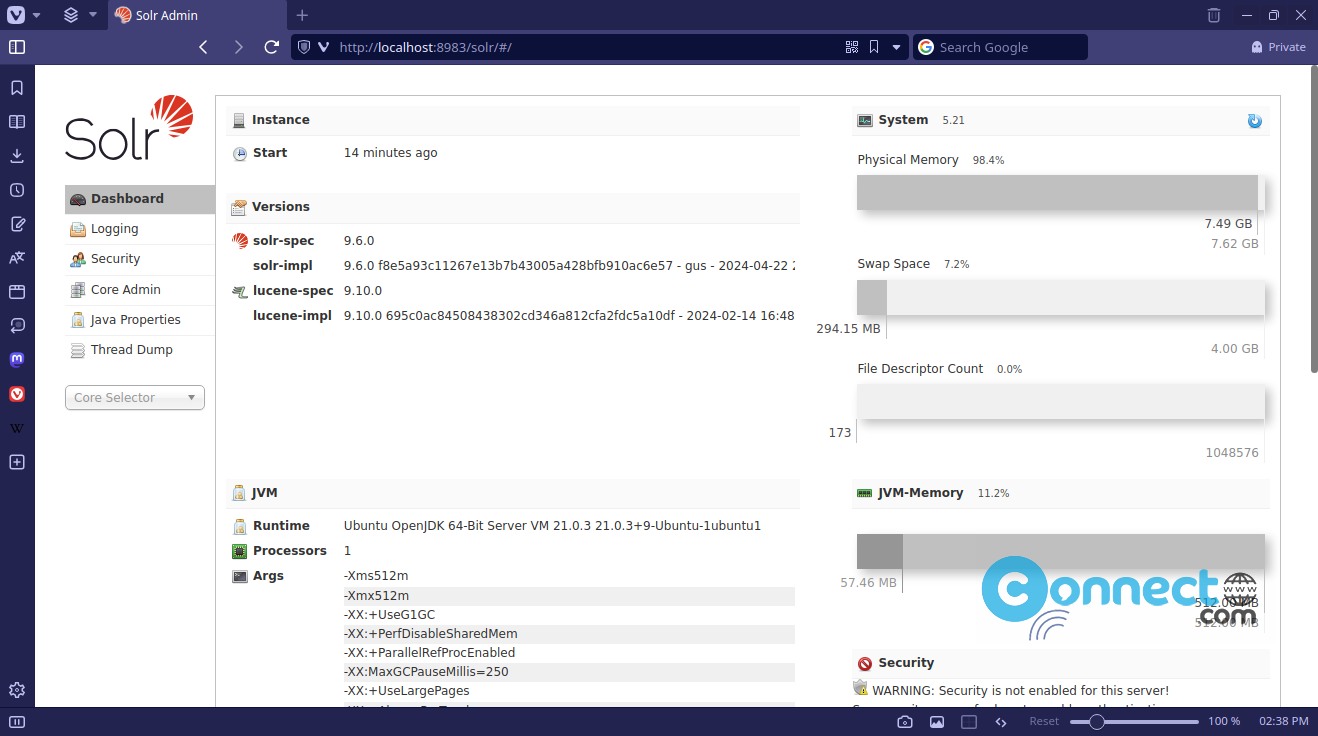
Now select your core using the Core Selector drop down menu.
6.Allow Apache Solr Public Access
By default Apache Solr runs on localhost only. You can also access via the server IP address or domain name pointed to that server. To allow the Apache Solr server publicly accessible over networks, you need to edit the /etc/default/solr.in.sh configuration file.
In the terminal run below command.
sudo nano /etc/default/solr.in.sh

Change the SOLR_JETTY_HOST variable value to “0.0.0.0” and save, close the file. Now run below command.
sudo systemctl restart solr
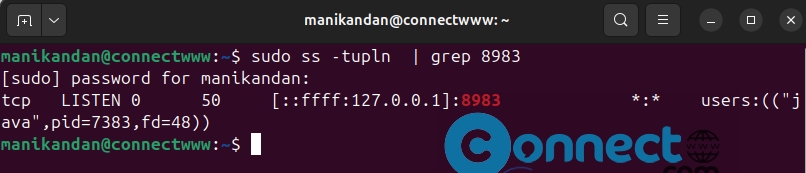
You can check Apache Solr listening host address using below command.
sudo ss -tupln | grep 8983