Boosting the speed of your WordPress website is now easier than ever with the Performance Lab plugin, developed by the official WordPress Performance Team. This powerful tool is designed to optimize your site’s performance through five customizable modules, allowing users to toggle them on or off based on their specific needs.
The primary objective of the Performance Lab plugin is to facilitate testing of various performance modules, aiming to integrate theminto the WordPress core in the future.
Key Features of the Performance Lab Plugin:
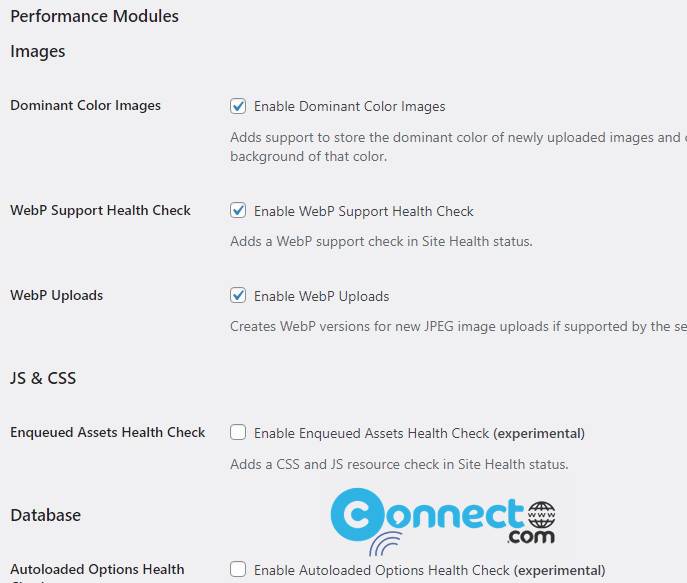
Dominant Color Images:
Gain enhanced control over your website’s visual aesthetics by using the Dominant Color Images module. It enables the storage of dominant colors for newly uploaded images, creating placeholder backgrounds that align with the color scheme.
WebP Support Health Check:
Ensure optimal performance by incorporating WebP images with the WebP Support Health Check module. This feature adds a convenient WebP support check to your Site Health status, allowing you to identify and address potential issues.
WebP Uploads:
Stay on the image optimization with the WebP Uploads module. This feature automatically generates WebP versions for new JPEG image uploads, using server support to enhance loading times and overall user experience.
Enqueued Assets Health Check:
Maintain a well-optimized website by using the Enqueued Assets Health Check module. This feature adds a CSS and JS resource check to your Site Health status, enabling you to monitor and address any potential resource-related issues.
Autoloaded Options Health Check:
Enhance the efficiency of your website by employing the Autoloaded Options Health Check module. This feature adds a check for autoloaded options to your Site Health status, helping you identify and optimize autoloaded options for improved performance.
How to Install Performance Lab Plugin on WordPress Website
Login to your WordPress admin dashboard. (wp-admin/login).
In your WordPress admin dashboard click plugins and select Add New.
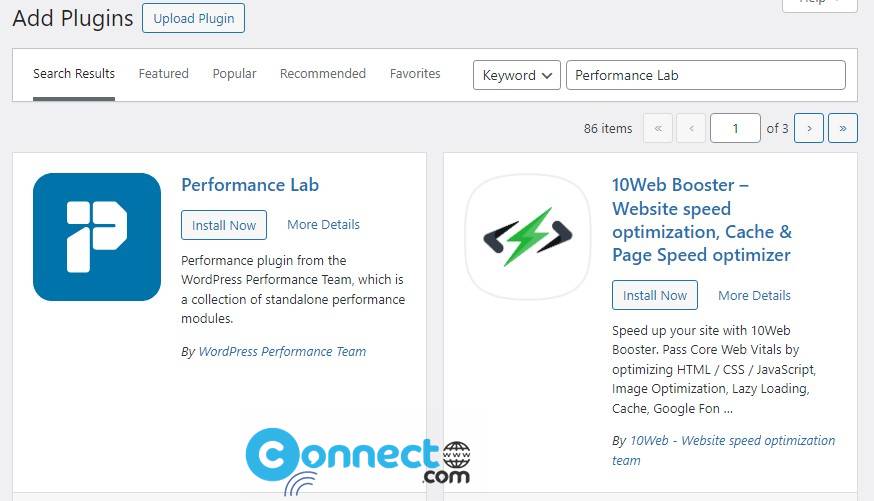
Type Performance Lab in the search field and press the enter key.
Click the Install Now button in Performance Lab plugin by WordPress Performance Team.
After the successful installation click the activate Plugin link to activate Performance Lab.
You can also download and install Performance Lab WordPress Plugin manually from the below download link.
Go to Plugins-> Add New-> Upload Plugin and upload the downloaded plugin .zip file and install.
Enable Performance Lab Options:
Click the Settings from the dashboard left menu and select Performance. Now install and active the required modules.
By using the capabilities of the Performance Lab plugin and its modules, you can improve your WordPress website’s speed, responsiveness, and overall user satisfaction.


Another interesting plugin for image optimization:
https://wordpress.org/plugins/optipic/
OptiPic automatic convert image to Webp (for webp-supported browsers) and compressed/optimized png/jpeg (for webp-unsupported browsers).