In this tutorial, I will guide you through two methods to alter the hostname of an Ubuntu system, utilizing both the command line and the graphical user interface.
How to Change the Hostname
We will explore two approaches for changing the hostname: one through the command line using the hostnamectl command and the other via the graphical user interface in the Ubuntu system.
Method 1: Change the Hostname Using the Command Line
To change the hostname, initiate the terminal window on the Ubuntu system using the Ctrl+Alt+T shortcut. To view the current hostname, enter the below command in your terminal.
hostnamectl
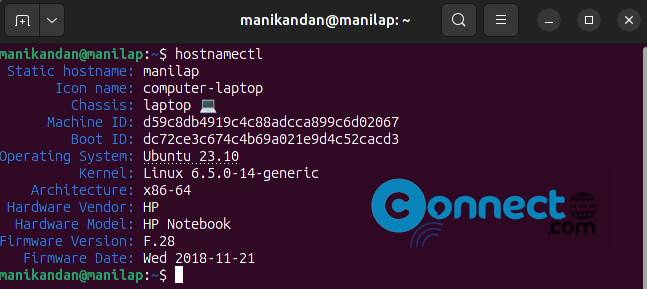
In our example, the existing hostname is displayed as ‘manilap.’
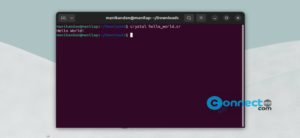
To check the current hostname through an alternative command, use:
cat /etc/hostname

This command will display the existing hostname.
To modify the currently set hostname, execute the following hostnamectl command:
sudo hostnamectl set-hostname newNameHere
Replace “newNameHere” with the desired hostname. For instance, in our example, we are changing the hostname to ‘connectwww’:
sudo hostnamectl set-hostname connectwww
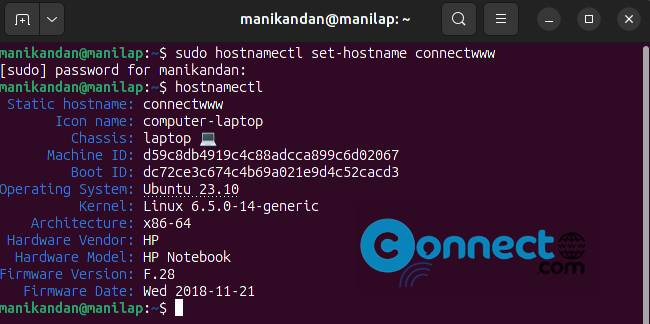
Once the name is updated, verify the changes with:
hostnamectl
Method 2: Set a New Hostname Through the GUI
To temporarily change the hostname, open the Settings app of the system. Scroll down to the About section on the left side navbar.
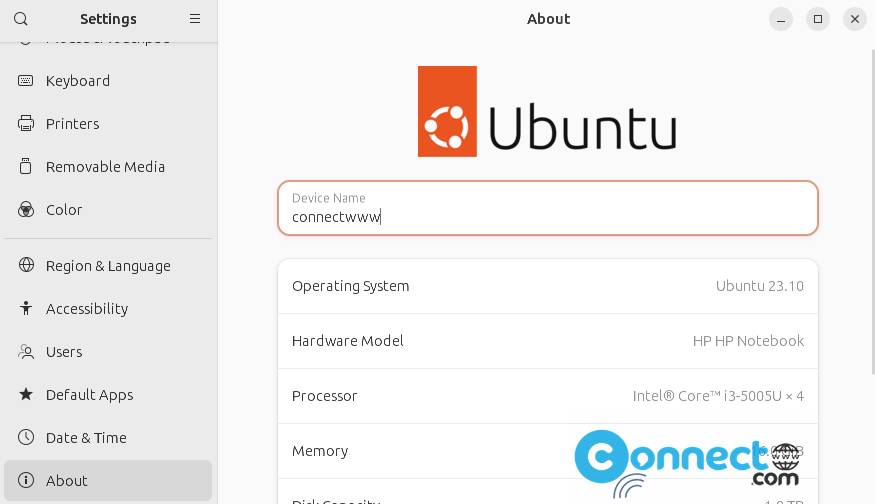
In the About section, locate the Device Name field on the right side. Click on the Device Name field to update it with the new hostname.