If you don’t like the Ubuntu’s default old alert sound , then you can change it with another four available alert sounds in Ubuntu. Not only this, you can also replace these alert sounds and replace or add custom alert sounds. In this article we will see how to change the alert sound and add custom alter sound in Ubuntu.
Change Alter Sound in Ubuntu
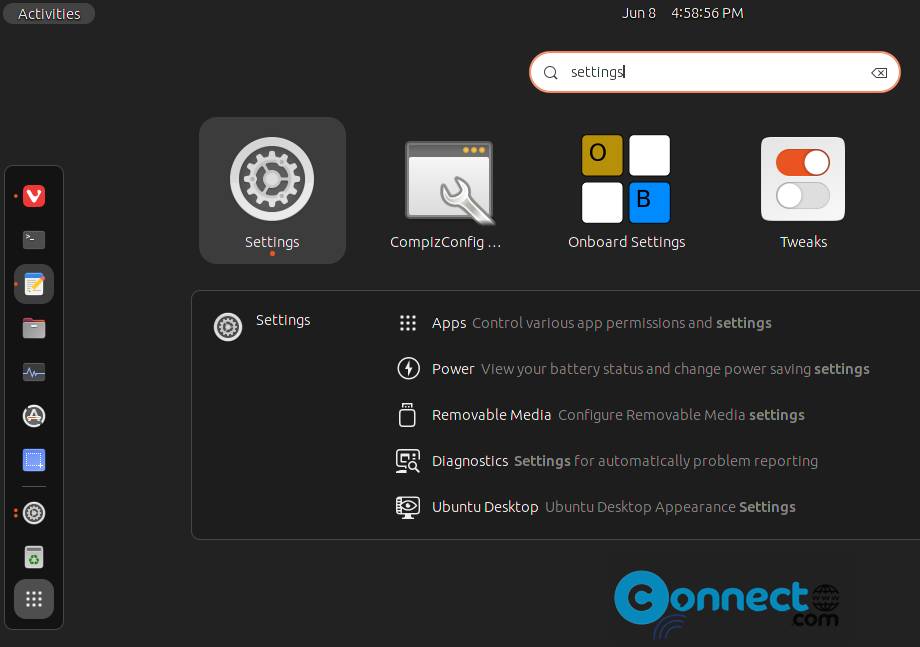
You can easily change alert sound in Ubuntu using the Settings app. Open the Settings app. Click the Show Apps in Ubuntu dock and type Settings and click Settings icon.
In the Settings app click on Sound menu from the left menu.
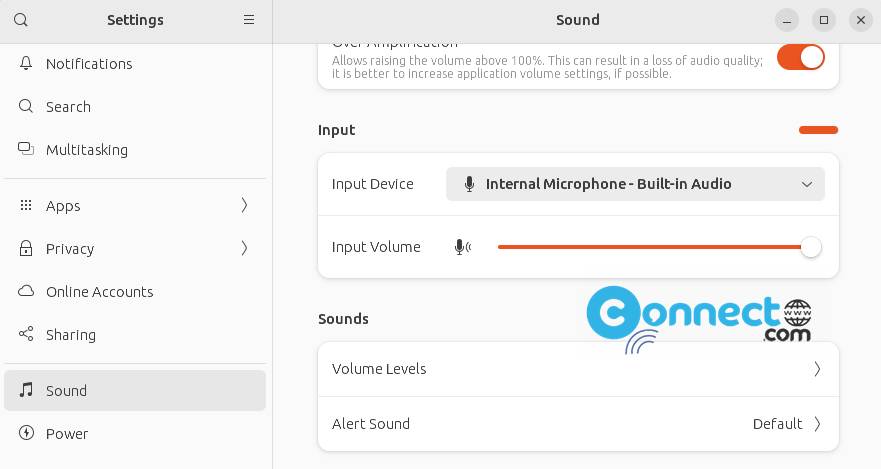
Under the Sounds section click the alert sounds.
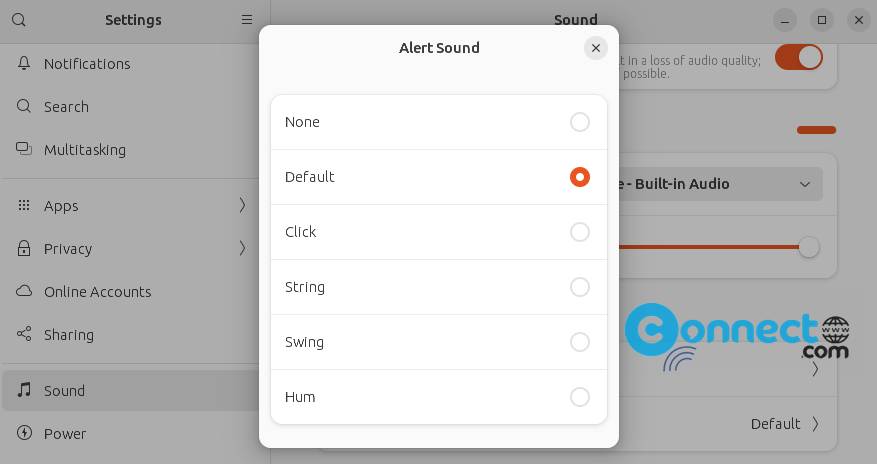
It comes with total six options. None, Default, Click, String, Swing and Hum. Just click on the name to change it.
How to Add a Custom Alert Sound in Ubuntu
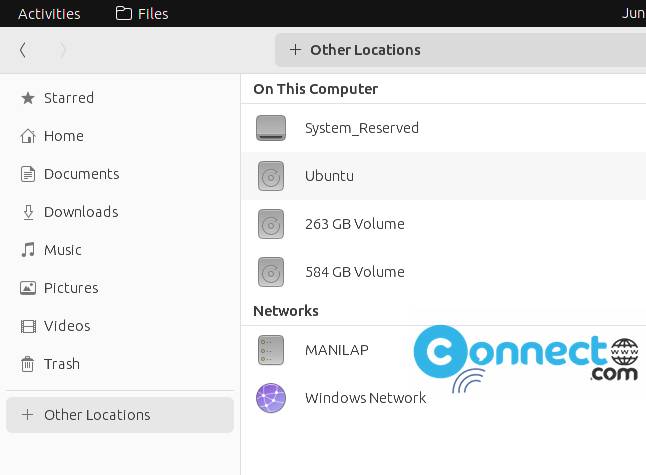
Open the Files app (Ubuntu default file manager) by clicking Show Apps and type files. Now go to Other Locations-> Ubuntu
And navigate to below location
/usr/share/sounds/gnome/default/alerts
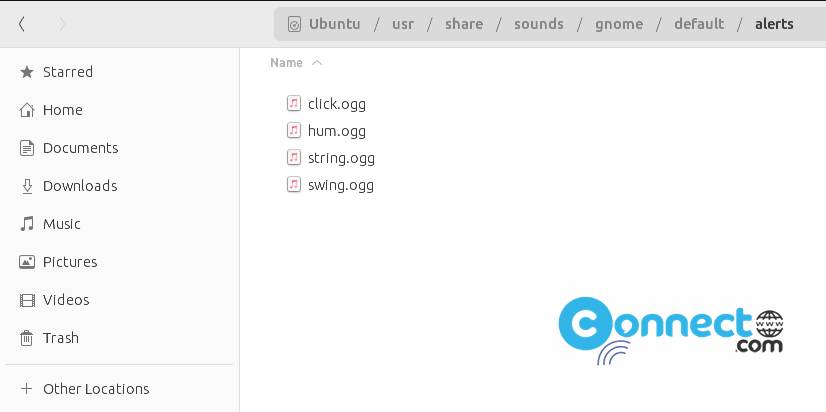
Now backup all sounds to a new folder or any other folder.
Note: Your new alert sound files should be in .ogg file format.
Now rename your new alert sounds to click.ogg, string.ogg, swing.ogg, or hum.ogg and copy all to your Home directory.
Open the terminal app (ctrl+alt+t) and run below command to move files from your Home directory to alerts folder.
sudo mv hum.ogg /usr/share/sounds/gnome/default/alerts
sudo mv swing.ogg /usr/share/sounds/gnome/default/alerts
sudo mv string.ogg /usr/share/sounds/gnome/default/alerts
sudo mv click.ogg /usr/share/sounds/gnome/default/alerts
Restart your system and open the Settings->Sound->Alert Sound and now change sounds. Now you will get your own custom sounds.