Google Public DNS is a free global DNS resolution service from Google. Google Public DNS comes with some advantages like Provisioning servers adequately, Preventing DOS and amplification attacks, Load-balancing for shared caching, DNS-over-HTTPS and Domain Name Security Extensions (DNSSEC) . In this tutorial i am going to show you how to change your current ISP provided DNS with Google Public DNS in Ubuntu.
Add/Change Google Public DNS on Ubuntu
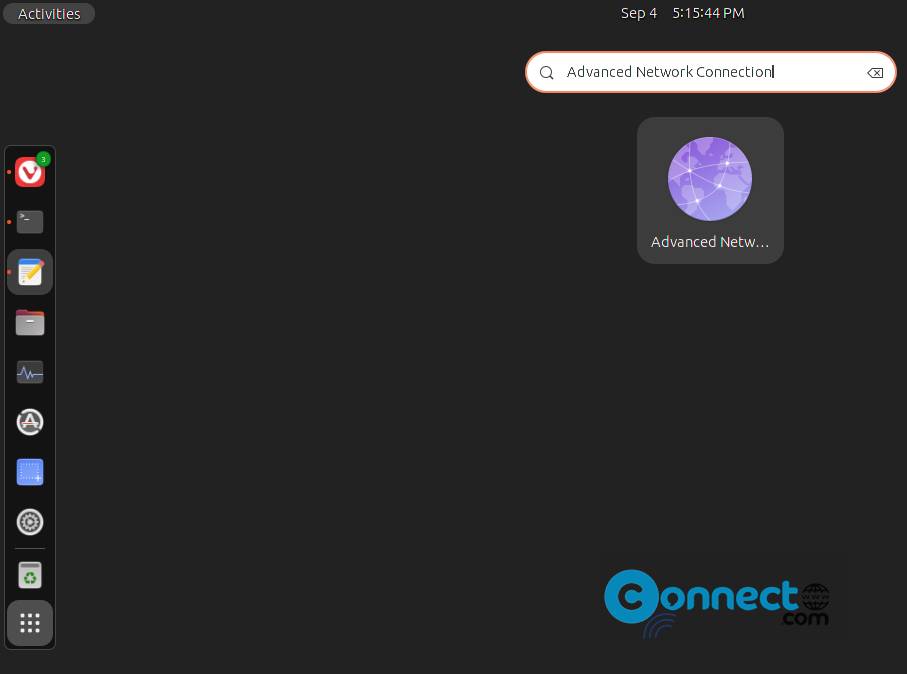
Click the Show Apps from Ubuntu dock and type Advanced Network Configuration in the search field.Then click Advanced Network Configuration
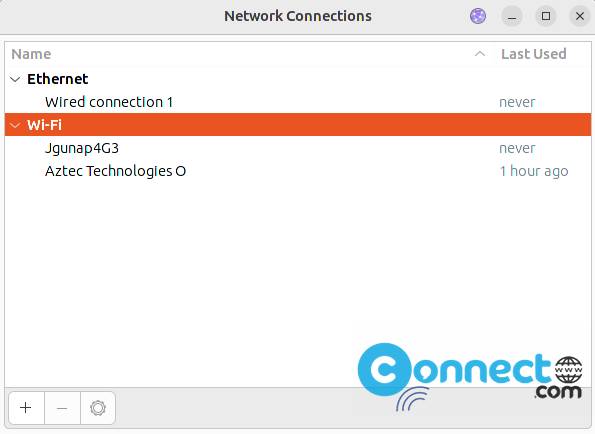
Select the connection for which you want to configure Google Public DNS. The available connections will show under Ethernet and WIFI (wireless) tab.
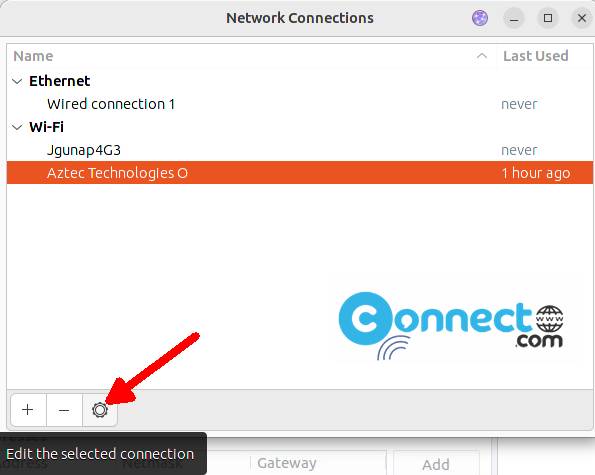
Select your connection and click the edit the selected connection button below.
Then select the IPv4 Settings tab.
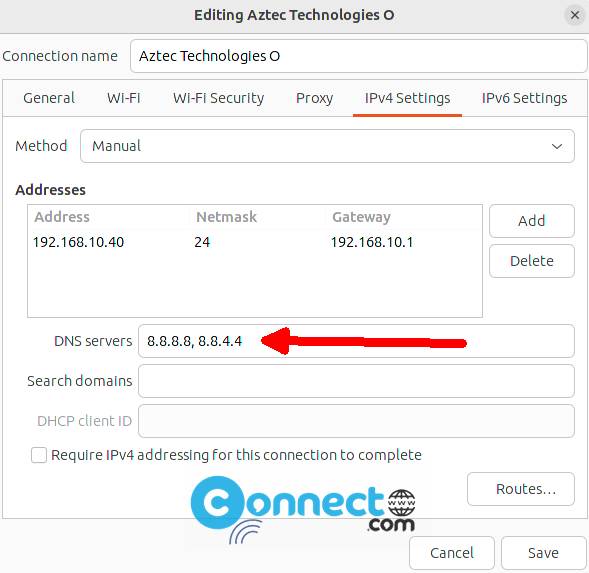
In the DNS servers field, enter the Google Public DNS IP addresses, separated by a comma.
For IPv4:
8.8.8.8,8.8.4.4
Click Save button to save the change. If you are prompted for a password or confirmation, type the password or provide confirmation.
For IPv6:
2001:4860:4860::8888,2001:4860:4860::8844