FeatherPad is a free open source text editor for Linux, BSD, Haiku and MacOS. It is released under the GNU General Public License v3.0. It is a light weight Qt based text editor developed by Pedram Pourang. FeatherPad comes with syntax highlighting, session management, side-pane mode, auto-saving, spell checking, drag and drop support, instant highlighting and automatic detection of text encoding. It has been the default text editor in Lubuntu, since Lubuntu 18.10.

Install FeatherPad text editor on Ubuntu:
You can install FeatherPad text editor via terminal or Ubuntu Software. Open your terminal app and type the below command and press the enter key.
sudo apt update
Then type your Ubuntu password. After that type the below command and hit the enter. It will install the latest version of FeatherPad text editor on your Ubuntu system.
sudo apt install featherpad
After the installation of light weight FeatherPad text editor, click the show applications in the Ubuntu Gnome dock and type FeatherPad in the search box and click FeatherPad to open it. For Unity you can search FeatherPad from Ubuntu dash.
If you want to install it via Ubuntu Software, the click the show applications in the Ubuntu Gnome dock and type Ubuntu Software in the search box and click Ubuntu Software to open it. Now search FeatherPad in the Ubuntu software search box and select “FeatherPad”.
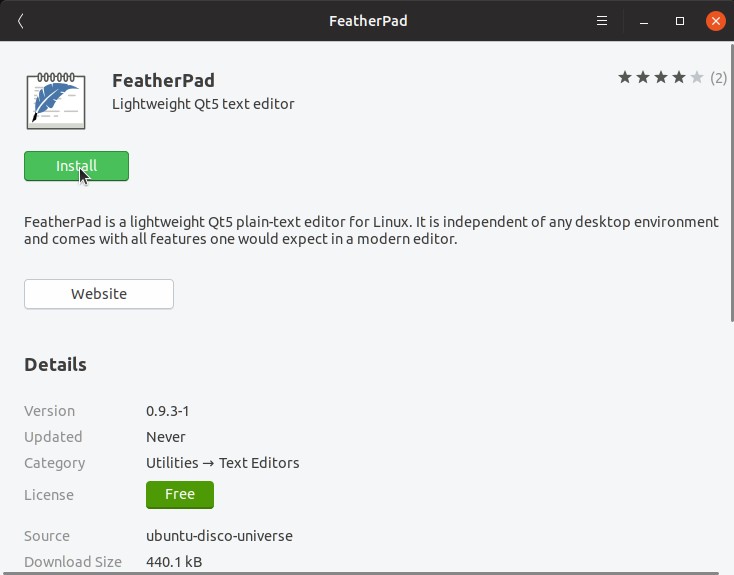
Then click the install button. It will install the FeatherPad on your system.


how are you