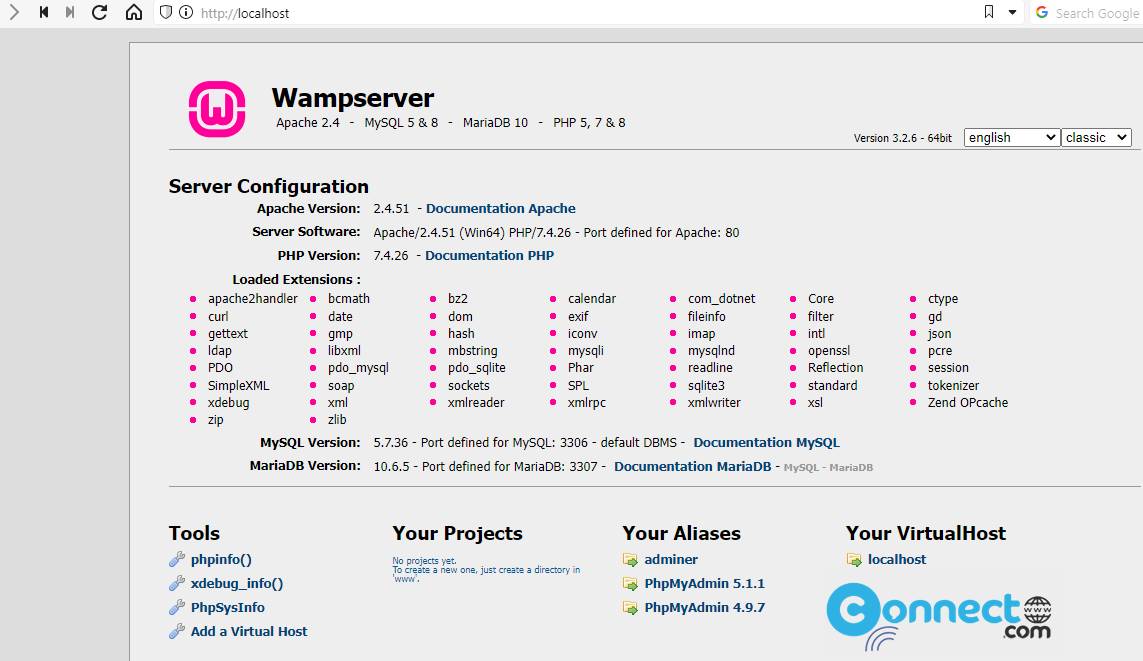
After installing WAMP server on Windows, Start Wampserver or Wampserver64 in your system from the start menu. After that you can check Apache web server running status by going http://localhost url on your web browser. If apache successfully installed and running then you will get below Wamp server home page.
http://localhost
If apache service not running, then you will get some browser error or any other message. In my case, it is showing below IIS (Internet Information Services) homepage.

That means Microsoft IIS server is using the default Wampserver installation port 80. You can also test this by clicking the Wampserver tray icon then go to
Apache->Service administration 'wampapache64'-> Install Service
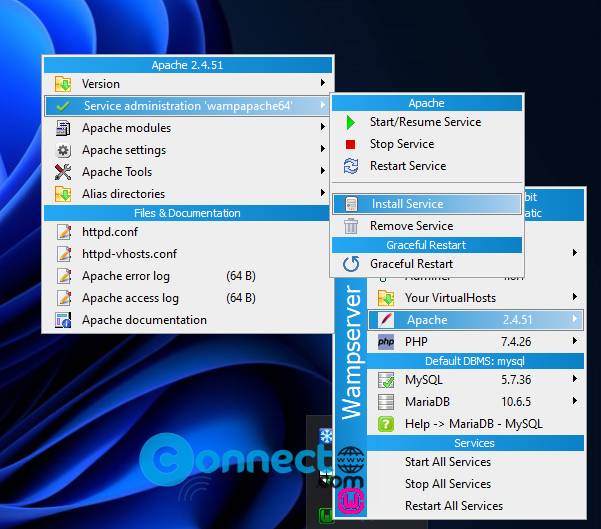
It will show below message.

Fix Port 80 is actually used by Microsoft IIS Error WAMP Apache:
Method 1:
Open Command Prompt as administrator (Type CMD in Windows search and select run as administrator option) and type below command and hit the Enter key
iisreset /stop
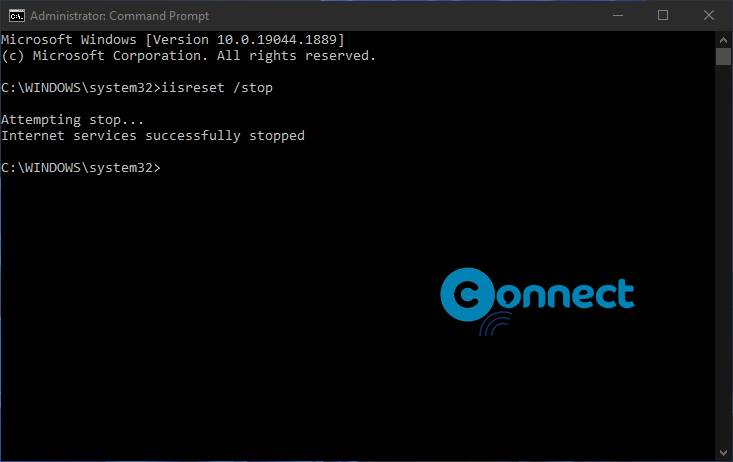
It will stop IIS. Just close and start your Wampserver again or restart it. Now go to below url in browser you will get default Wamp homepage.
http://localhost
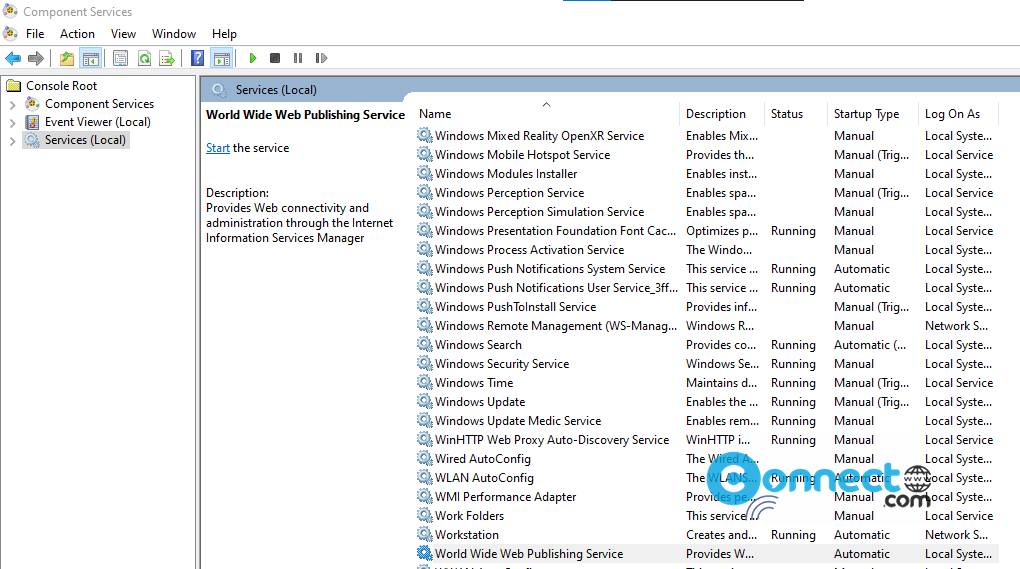
You can also disable the IIS services by going below
Control Panel->System And Security->Administrative Tools->Component Services->Services (LOCAL)
And disable the “World Wide Web Publishing Service” and the “Web Deployment Agent Service” services.
Method 2: Change Wampserver Port
Left click on the WampServer icon in the system tray and go to Apache -> httpd.conf
I will open the httpd.conf in Notepad. Now search for “80”, change all to “8080” (or any other port number) then close and save the httpd.conf file.
Restart your Wampserver and go to below url
http://localhost:8080
That’s all
If the port is used by Skype, then just uninstall it and restart your computer.