It is particularly well-suited for beginners due to its user-friendly interface and built-in Python configuration. Thonny offers several features to enhance the programming experience, such as a Built-in Debugger that allows users to explore variables through the variable explorer, code completion, and support for identifying syntax errors and explaining scopes.
It also simplifies the installation of third-party packages directly within the IDE. Additional features include functionalities like Heap, Stack, Assistant, and Object Inspector, contributing to a comprehensive development environment. Thonny operates under the MIT License, making it accessible for users to utilize and modify according to their needs.
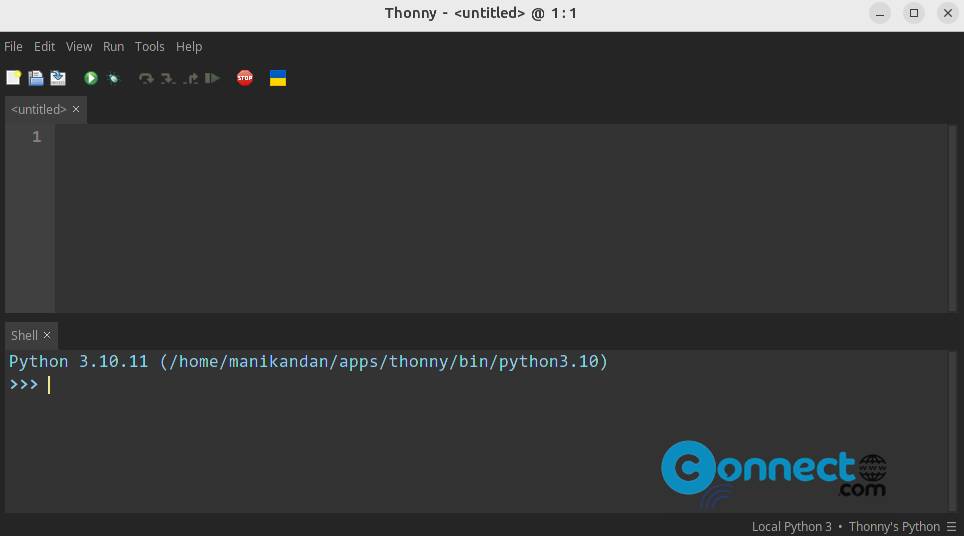
Install Thonny Python IDE on Ubuntu
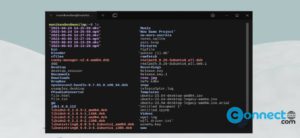
Thonny Python IDE via the Linux installer script. It will download and install Thonny Python IDE and python on your system. Open your terminal software (ctrl+alt+t) and run the below command.
bash <(wget -O - https://thonny.org/installer-for-linux)
Then enter to confirm the Thonny and python installation. This Thonny installer script will install Thonny and Python on your system. You can open Thonny Python IDE from application list.
Or you can run from the installed folder. For me its installed in “/home/manikandan/apps/thonny/bin/thonny” . Here “manikandan” is my user name. You will get the installation path at the end of thonny installation process.
cd /home/manikandan/apps/thonny/bin/
./thonny
You can uninstall Tonny via below command.
cd /home/manikandan/apps/thonny/bin/
./uninstall
Install Thonny Python IDE via pipx:
If you want to install Thonny Python IDE via pipx then run the below command.
Then in your terminal run this Thonny Python IDE pip installation command. It will install Thonny.
sudo apt install pipx
pipx ensurepath
pipx install thonny
thonny
Install Thonny Python IDE via apt:
You can also install Thonny IDE via the Ubuntu repositories but this is not a recommended way because it may not be the latest version. In terminal run
sudo apt install thonny

![Read more about the article How to Install Shutter Screenshot Software on Ubuntu [Wayland Support]](https://connectwww.com/wp-content/uploads/2024/01/Shutter-screenshot-app-300x138.jpg)