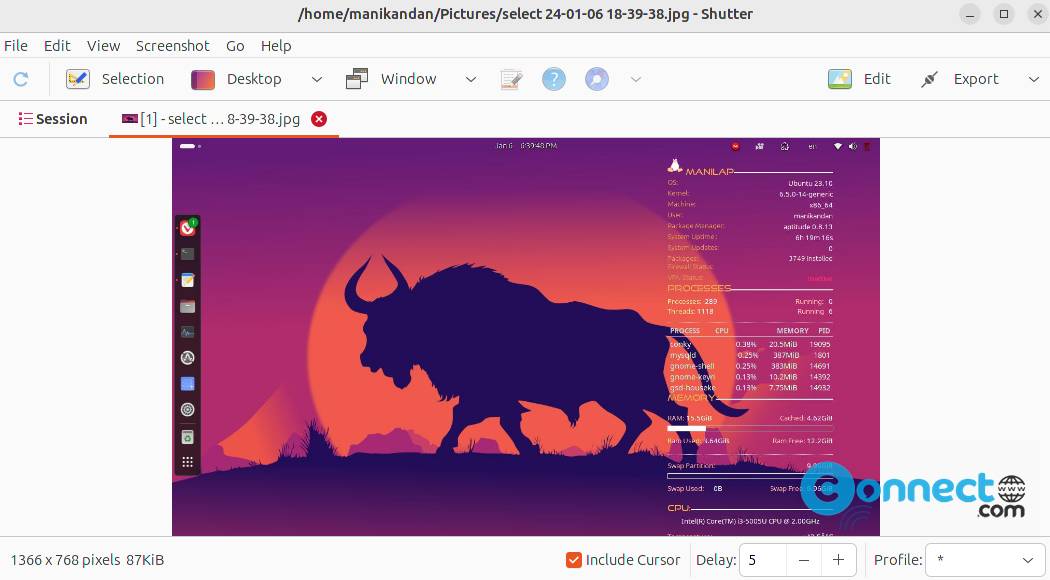
Shutter is a free screenshot software for Linux, released under GNU GPL v3 and Creative Commons licenses. With Shutter, you can capture screenshots of your entire desktop screen, a specific application window, a user-defined area, or even a website in your browser. Additionally, it allows you to take screenshots of menus or tool tips from any application. After capturing screenshots, you can edit them by applying various effects, drawing on them, or highlighting specific areas. Shutter also supports direct image uploads to hosting sites from within the application.
Install Shutter Screenshot Software on Ubuntu:
You can install shutter via official shutter PPA and from Ubuntu default repositories.
Install Shutter on Wayland in Ubuntu 23.10 :
To install Shutter on Wayland, it is imperative to uninstall any existing version sourced from the Ubuntu repositories, a PPA,etc. In case of uncertainty, a straightforward command like below should suffice.
sudo apt remove shutter
Subsequently, obtain the latest Shutter on Wayland Deb installer from the project’s below GitHub link and save it on your Downloads folder.
Open the terminal (ctrl+alt+t) and run below command to install Shutter on Wayland.
sudo apt -f install ./Downloads/shutter-on-wayland_0.99.4-6_all.deb
Note: Here “shutter-on-wayland_0.99.4-6_all.deb” is the downloaded file name. You can change above command based on your file name and path.
And open it using below command or via Show Apps Ubuntu menu.
shutter
For Ubuntu 22.04 & Later:
Open the terminal application (ctrl+alt+t) and run below Shutter install command.
sudo snap install shutter
Install Shutter via Official PPA: [Ubuntu 20.04 and 21.04 and 21.10]
Official latest PPA currently available for Ubuntu 20.04 and 21.04 and 21.10 with limited feature for wayland.
Open your terminal software application (ctrl+alt+t) and run below commands one by one.
sudo add-apt-repository ppa:shutter/ppa
sudo apt update
sudo apt install shutter
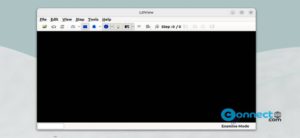
After the installation of Shutter screenshot software, click the show applications in the Ubuntu dock and type Shutter in the search box and click Shutter to open it.