OneDrive Client for Linux is a free and open source Microsoft OneDrive client software for your Linux system. It supports OneDrive Personal, OneDrive for Business, OneDrive for Office365 and Sharepoint, and Azure National Cloud Deployments. It comes with notifications, rate limiting, dry-run capability, resumable uploads, Real-Time syncing and file monitoring, State caching and many more.
Install Install OneDrive on Ubuntu
In the terminal application (ctrl+alt+t) run below command to enable the Ubuntu Universe repository support.
sudo add-apt-repository universe
Note: Tested with Ubuntu 23.04 & Later
After that to install the latest version of OneDrive Client for Linux on your Ubuntu system run below command.
sudo apt install onedrive -y
View the OneDrive Client for Linux usage details using below command.
onedrive --help
You can also check and read using below link.
How to Sync OneDrive to Ubuntu
Below is the syntax for the folder/file sync.
onedrive destination-directory [FILEPATH] --synchronize
In the terminal run below command. It will sync the Downloads folder.
Example:
onedrive destination-directory /Downloads --synchronize
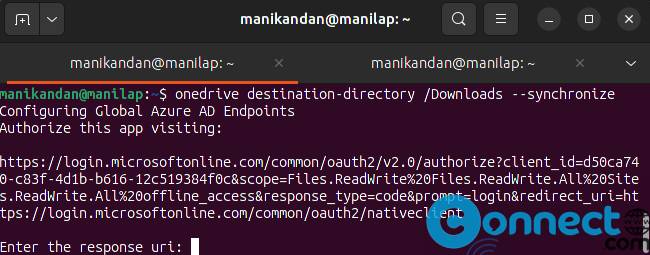
The OneDrive Client for Linux app will display a link. Just copy and open in your browser. After signing in to your Microsoft account, copy the URL (the page will typically be blank) and paste it into the terminal window where required. Authentication should then be completed.
How to Install OneDriveGUI on Ubuntu
If you bad with the command-line, then install OneDriveGUI app and access your OneDrive files easily.
OneDriveGUI is a frontend of OneDrive Client for Linux cli app. OneDriveGUI is available as a portable AppImage file from the below download link.
Download OneDrive Client for Linux
Download OneDriveGUI in .AppImage file format and save it on your Downloads folder. Here the downloaded file name is “OneDriveGUI-1.0.2-x86_64.AppImage“. You can change below command based on your file name.
Now open the terminal app and run below commands one by one.
cd Downloads
sudo chmod +x ~ OneDriveGUI-1.0.2-x86_64.AppImage
./OneDriveGUI-1.0.2-x86_64.AppImage
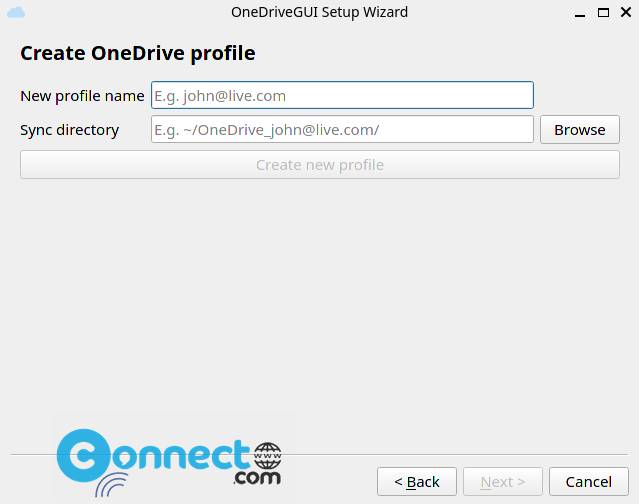
Now configure and setup your OneDrive Account and files.