Apache Maven is a free and open source project management software. Using Apache Maven, you can manage a project’s build process. It comes easy build process, uniform build system, quality project details and good development practices. In this tutorial, we will see how to install Apache Maven on your Ubuntu Linux system.
1. Install Java on Ubuntu
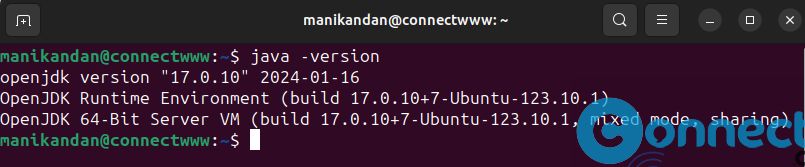
To install and run latest Apache Maven on your Linux system, you need latest Java JDK release. First confirm whether Java is already installed in your system by running below command in your terminal command-line application (ctrl+alt+t)
java -version
If you don’t have java then install it via below commands.
sudo apt install default-jdk -y
2. Install Apache Maven
First, navigate to the system temp folder and download the latest version of Apache Maven using below commands.
cd /tmp
wget https://dlcdn.apache.org/maven/maven-3/3.9.6/binaries/apache-maven-3.9.6-bin.tar.gz
Note: You can check the latest version of Apache Maven using below link
Now extract the downloaded file using the below command.
tar -xvzf apache-maven-3.9.6-bin.tar.gz
[OR]
sudo tar -xvzf apache-maven-3.9.6-bin.tar.gz
Note: Here “apache-maven-3.9.6-bin.tar.gz” is the downloaded file name. You can change above and below commands based on your downloaded file name.
After that, copy the extracted apache maven directory to the /opt/ directory with the following command:
sudo cp -r apache-maven-3.9.6 /opt/maven
Now set up the environment variables for Java and Maven in the maven.sh file. Run below command to open the file.
sudo nano /etc/profile.d/maven.sh
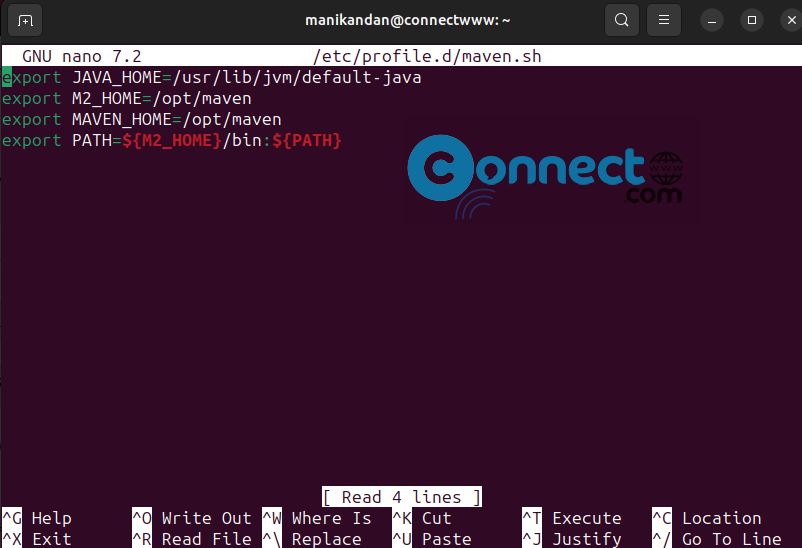
Add the below content and save it.
export JAVA_HOME=/usr/lib/jvm/default-java
export M2_HOME=/opt/maven
export MAVEN_HOME=/opt/maven
export PATH=${M2_HOME}/bin:${PATH}
Now press Ctrl + X on your keyboard. Now enter Y and hit the enter key.Again hit the Enter key. This will Save and close the file.
Now give permission to the maven.sh file with the below command.
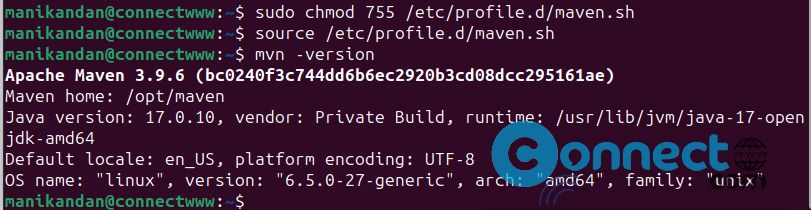
sudo chmod 755 /etc/profile.d/maven.sh
Now you need to load the environment variables by running the below command.
source /etc/profile.d/maven.sh
You can now check the Apache Maven installation using below command.
mvn -version