As a system administrator, creating and managing user groups is a fundamental aspect of maintaining a secure and organized Linux system. There are occasions when you need to verify a user’s group membership or perform group management operations. In Ubuntu, this can be easily accomplished using the terminal.
1. Check Your Own Groups:
Open the Ubuntu Terminal using Ctrl+Alt+T or the Dash and enter the following command to view the groups to which the current user belongs:
groups

This command provides a comprehensive list of all the groups associated with the current user.
2. Check Specific User’s Groups:
To determine the groups a particular user belongs to, use the following command:
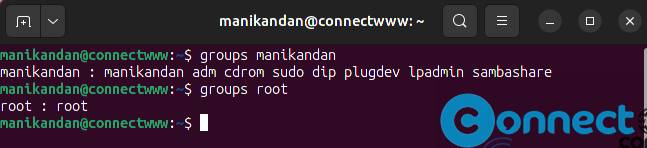
groups [username]
Replace [username] with the actual username you want to investigate. For example:
groups manikandan
3. Display Group Members and GIDs:
Another useful command is id, which not only lists the groups a user belongs to but also provides additional information, such as Group IDs (GIDs). Execute the following command:
id [username]
For instance, to get details for the ‘manikandan’ user:
id manikandan

The gid output specifically indicates the primary group assigned to the user.
By using these commands, you can easily perform checks on user account group information, facilitating user group management on your Ubuntu system.