Unity Tweak Tool is a free customization and settings manager for the Unity desktop. Using this tool you can configure Ubuntu’s default desktop environment, unity. You can install the Unity Tweak Tool via the Ubuntu software or from ubuntu’s base repositories and ppa via terminal.
To install it via Terminal, go to terminal and type the below command and hit the enter button.
sudo apt-get install unity-tweak-tool
Then type the ubuntu password.
That’s it. To open the Unity Tweak Tool, type the below code in terminal
unity-tweak-tool
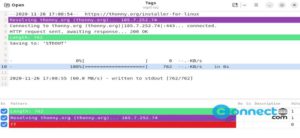
To test the latest developments of this Unity Tweak Tool, add the below ppa via below command.
sudo add-apt-repository ppa:freyja-dev/unity-tweak-tool-daily
sudo apt-get update
sudo apt-get install unity-tweak-tool
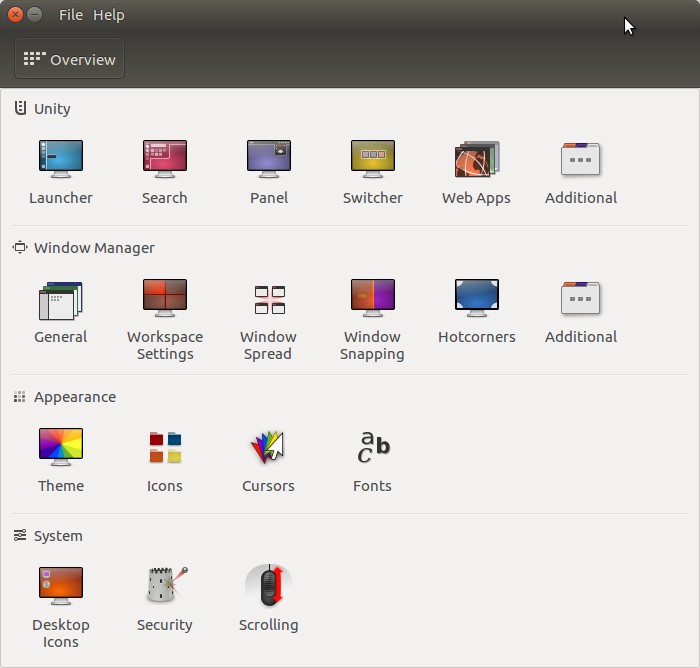
Unity Tweak Tool is divided into four categories like Unity, Window manager, Appearance and system.
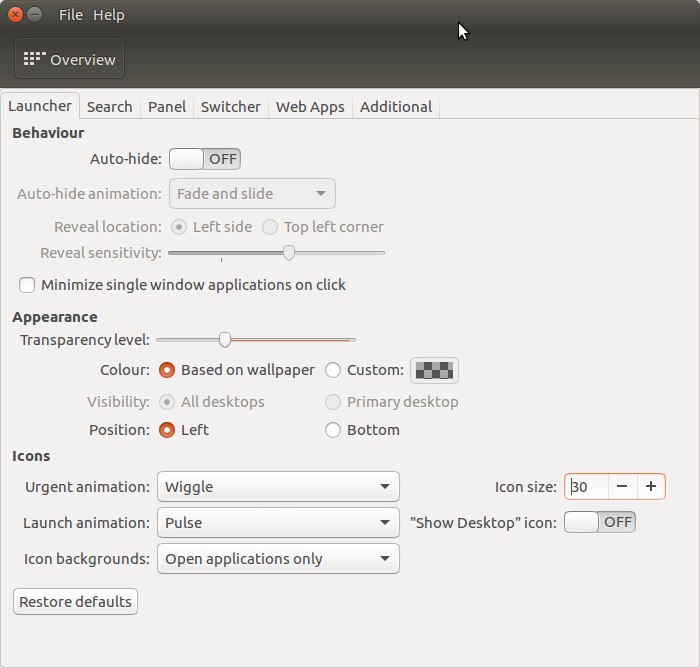
In the unity section, you can customize the unity launcher, the search bar, unity top bar,the switcher and the web app settings. In the windows manager, you can configure the general windows settings, Windows snapping, Hotcorner and the workspace settings. In the Appearance section, you can customize themes,icons,fonts and cursors. In the system section, you can customize the desktop icons,security and scrolling settings.
Pingback: How to install Arc GTK Theme on ubuntu | CONNECTwww.com