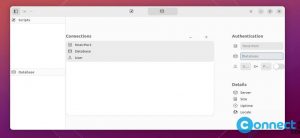
Insomnia is a free and open source REST and GraphQL client for Windows, macOS and Linux. Using this you can create HTTP requests and get details about the response like status code, body, headers, cookies. It comes with workspaces and drag-and-drop requests support. Some of the important features are you can create reusable API keys or session IDs, global environment variables, code snippet generation, OAuth 1.0, 2.0 auth, NTLM and AWS authentication support, keyboard shortcuts, SSL client certificates, JSONPath and XPath, HTML preview and configurable proxy support.
It comes in three plans Free, plus and Teams. The free plan is enough for most users. Paid plans come with extra features like E2EE team sync, Workspace collaboration, User management and Priority support.
Install Insomnia API Testing App on Ubuntu
You can install Insomnia API Testing REST client via snap, AppImage and deb package files on Ubuntu.
Install Insomnia via Snap:
Insomnia API Testing REST client snap installation is very simple, just open your Ubuntu console app terminal (ctrl+Alt+T). Then type the below snap installation command and press the enter key.
sudo snap install insomnia
Then enter your Ubuntu password and hit enter key. It will start the installation of Insomnia API Testing REST client on your Ubuntu system.
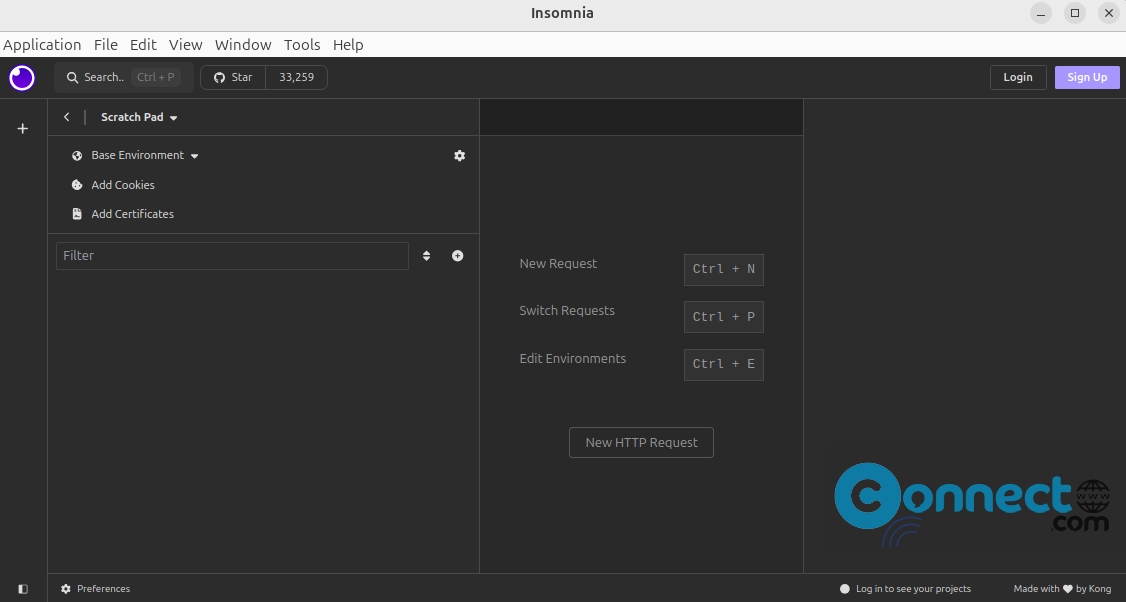
After the successful installation Insomnia, click the show apps in the Ubuntu dock and type Insomnia in the search box and click Insomnia to open it. you can also start it by running this command in terminal.
insomnia
Install Insomnia via deb:
Download the Insomnia in deb file format from the above download link and save it on your Downloads folder. Now open the terminal app (ctrl+alt+t) and run below install command.
Note: Here the downloaded file name is “Insomnia.Core-9.2.0.deb”. You can change below commands based on your file name and path.
sudo apt install ./Downloads/Insomnia.Core-9.2.0.deb
Install Insomnia via AppImage:
Download the Insomnia in AppImage file format from the above download link and save it on your Downloads folder. Here the downloaded file name is “Insomnia.Core-9.2.0.AppImage” . You can change below commands based on your file name and path.
Now in the Ubuntu terminal app (Ctrl+Alt+T) run below commands one by one. It will open the Insomnia app on your system.
cd Downloads
sudo chmod +x ~ Insomnia.Core-9.2.0.AppImage
sudo ./Insomnia.Core-9.2.0.AppImage